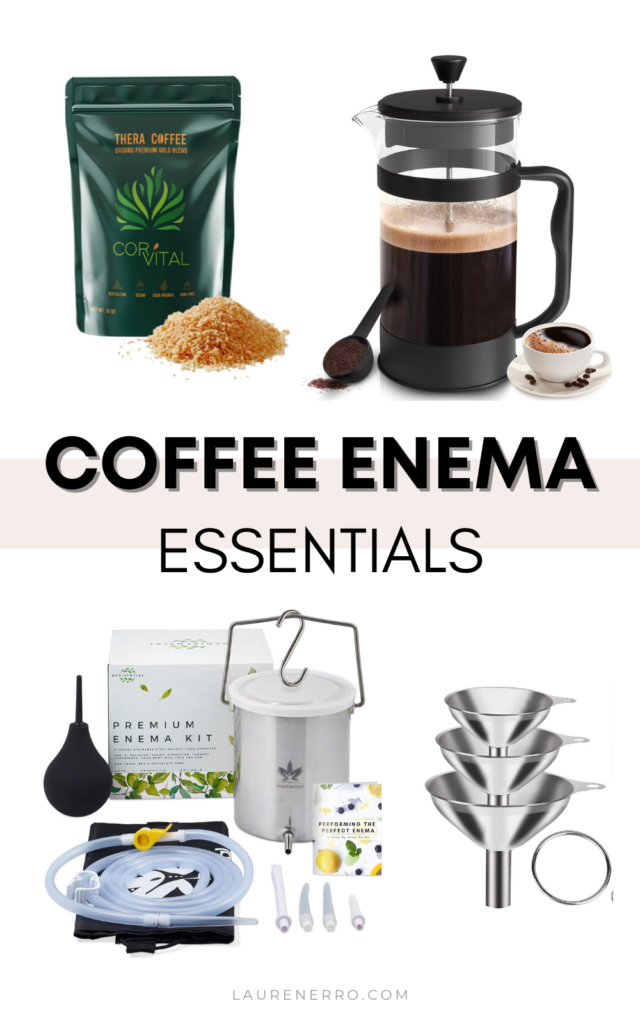
What Are The Benefits of Coffee Enemas & How-to Guide
This site contains affiliate links, view the disclosure for more information.
If you want to learn about coffee enemas you’re in the right place. My mom has non-Hodgkin’s lymphoma, a type of cancer that begins in your lymphatic system, which is part of the body’s germ-fighting immune system. We see the same functional doctor and I sat in on her first appointment. He stressed that she should do coffee enemas daily. I’ve done enemas before, but my mom? Not so much. She was very hesitant and rightfully so, the thought of putting coffee up your bottom is something that can take some time to grasp. I decided I would dive into the research and convince my mom to try it.
Now we’ve both been doing coffee enemas for months! We enjoy them and see the benefits so I’ll share everything we’ve learned with you below. I’ll also share some tips & tricks to make sure your coffee enema experience is as easy as possible.
In this post I’ll cover the following:
- What is the purpose of Coffee Enemas?
- What are the benefits of coffee enemas?
- What type of products do you need to do a coffee enema?
- How to do a coffee enema with step-by-step instructions

What Are Coffee Enemas?
Coffee enemas have a long history of use and are a common practice today. Dr. Gerson, the founder of this therapy, believed coffee enemas could support the liver and gallbladder by helping to remove waste from the body. This clears the large intestine to stimulate bile flow and stimulates the liver to boost the body’s production of glutathione S-transferase, a compound that helps bind and eliminate toxins from the body. They were initially introduced to aid cancer patients with the belief that detoxifying the body could activate its inherent healing abilities.
How Do Coffee Enemas Work?
Our liver accumulates a lot of toxins throughout our life. We like to think it can detox entirely on its own but with air pollution, water pollution, contaminated food, pesticides, pharmaceuticals, and more, there is a much larger burden placed on our liver. This is why coffee enemas are so beneficial, they work by stimulating processes within our bodies.
A coffee enema is delivered the same as a warm water enema, through a tube into the rectum. The difference is coffee enemas use a specific caffeinated coffee as the liquid, instead of just plain water. When the coffee is inside the rectum, the hemorrhoid veins absorb the caffeine in the coffee. From the hemorrhoid vein, it then goes up to the portal vein, which carries the blood supply to the liver and the gallbladder. The liver is irritated by the caffeine and palmitic acids in the coffee, which stimulates the liver’s bile ducts to open. When these ducts are open the toxins can be released.
Coffee contains Palmitic Acid, a saturated fatty acid. This is what boosts the production of Glutathione s-transferase. Glutathione s-transferase plays a big role in detoxification by linking with toxins and free radicals. It makes them more water-soluble and easier to expel.
Introducing warm coffee into the colon stimulates the flow of bile. Bile is an essential digestive fluid that aids in the breakdown and absorption of fats while carrying waste and toxins out of the liver.
What are the potential health benefits of coffee enemas?
For many people, the immediate benefit of a coffee enema is having multiple bowel movements that help purge the colon. If you’re experiencing constipation, a coffee enema may bring relief.
Coffee enemas can also:
- Boost immunity
- Increase energy
- Stimulate liver function
- Flush the liver and gallbladder
- Stimulate the release of toxins in the liver
- Strengthen the body overall by removing toxins from the blood
- Help eliminate bacteria and candida in the colon
- Strengthen and tone the colon
- Relieve depression and mental confusion
- Provide pain relief
- Improve energy levels
- Help with weight loss from improved digestion and detoxification. This indirectly contributes to better metabolism and weight control efforts.
- Helps treat chronic disease
- Provides clearer skin
- Improve mood and depression- enema users experience calmness, more vitality all over, and mental clarity.
- Lower risk of chronic disease when used over time
- Stop yeast overgrowth
- Treat autoimmune diseases
- Remove parasites from the digestive tract
- Remove heavy metals from the body
- Improve allergies
- Improve headaches
Here are some links to a few helpful videos explaining more about the benefits:
What Coffee should you use for your coffee enema?
When you do a coffee enema, you will not be using the same coffee you drink in the morning. You need specific organic coffee beans. I highly recommend purchasing organic, mold-free enema coffee for the same reasons I recommend purchasing organic produce and ingredients whenever possible – to avoid pesticides, herbicides, mold, and fungus.
The best results come from a medium or light roast, as they typically retain higher levels of caffeine and palmitic acid.
THIS is the coffee I recommend. I use the “Ultra Light Roast” coffee now but when I started I used the “Medium Roast” coffee, which is darker in color. I much prefer the ultra-light roast- it smells like peanut butter, not coffee. Some people say that the lighter roast coffees are more intense but I haven’t noticed a difference.

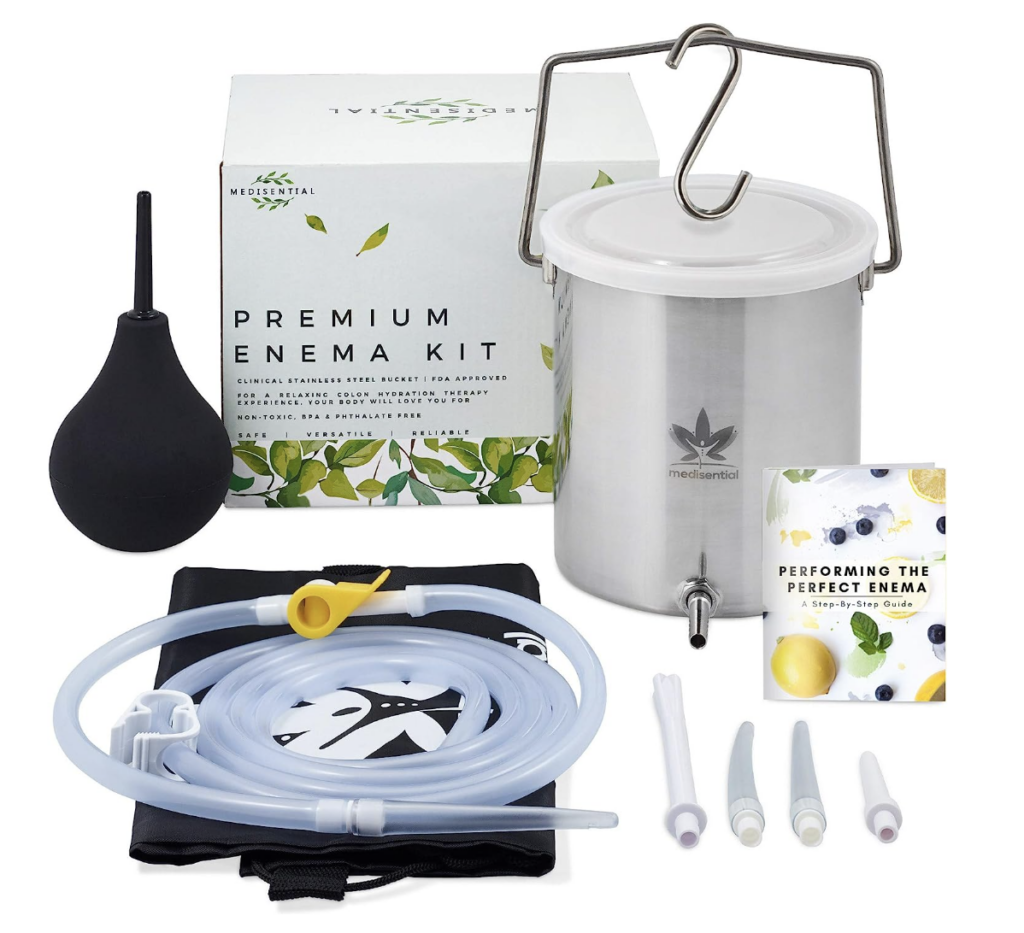
Which Coffee Enema Kit should you use?
Instead of purchasing your supplies separately, there are several different pre-made kits you can choose from. I chose THIS ONE. It has a stainless steel bucket which is very easy to clean, doesn’t stain, and won’t break like a glass bucket could. I don’t recommend using an enema bag because they are much harder to clean.
This kit had more than enough for me- I haven’t used half of it. I just use the bucket, the hanger, the tube, and one of the tips.
Should You Use Filtered Water To Do A Coffee Enema?
If you are doing a coffee enema for detoxification and healing, you are working to REMOVE toxins from your body, not ADD new ones. Tap water is absolutely disgusting. If you aren’t convinced that you need a water filter, go to the EWG Tap Water Database to search your zip code to see which pollutants were found in your local water supply. Everything from pesticides to fluoride, lead, mercury, the list goes on and on. So yeah, using filtered water for your enemas is essential.
If you need a good water filter I have a comparison of the top two countertop ones on the market- Berkey and AquaTru. I love them both and they definitely are both better than tap water! See my review HERE.
I use filtered water for cooking, drinking, and coffee enemas. I also use THIS shower filter and THIS tub filter and plan to get a whole house filter soon.
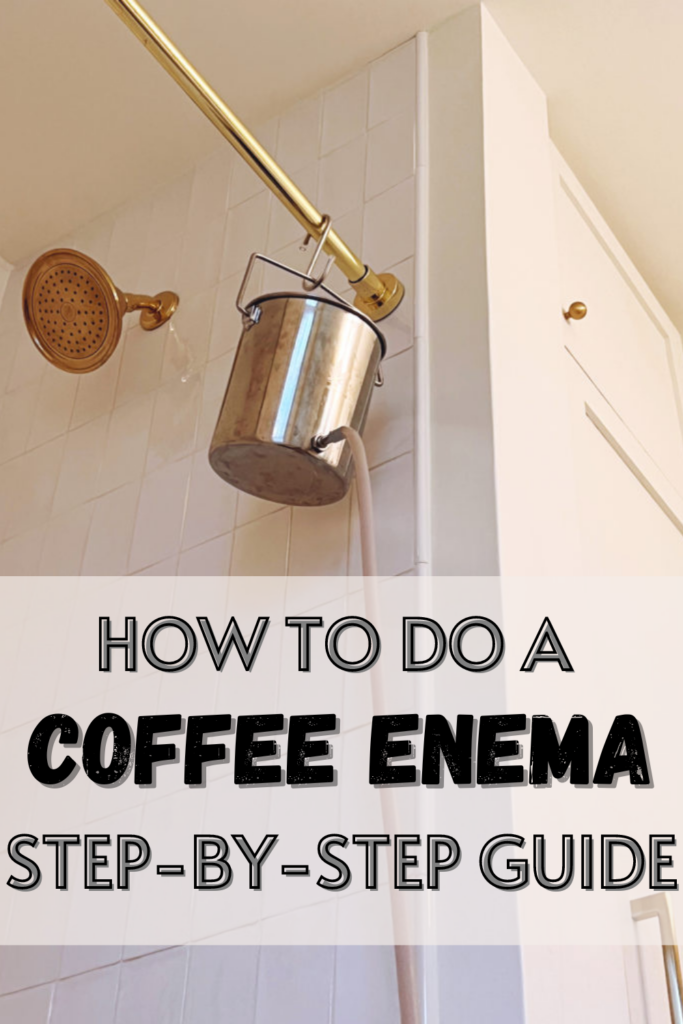
How To Do A Coffee Enema: Step-by-Step Instructions
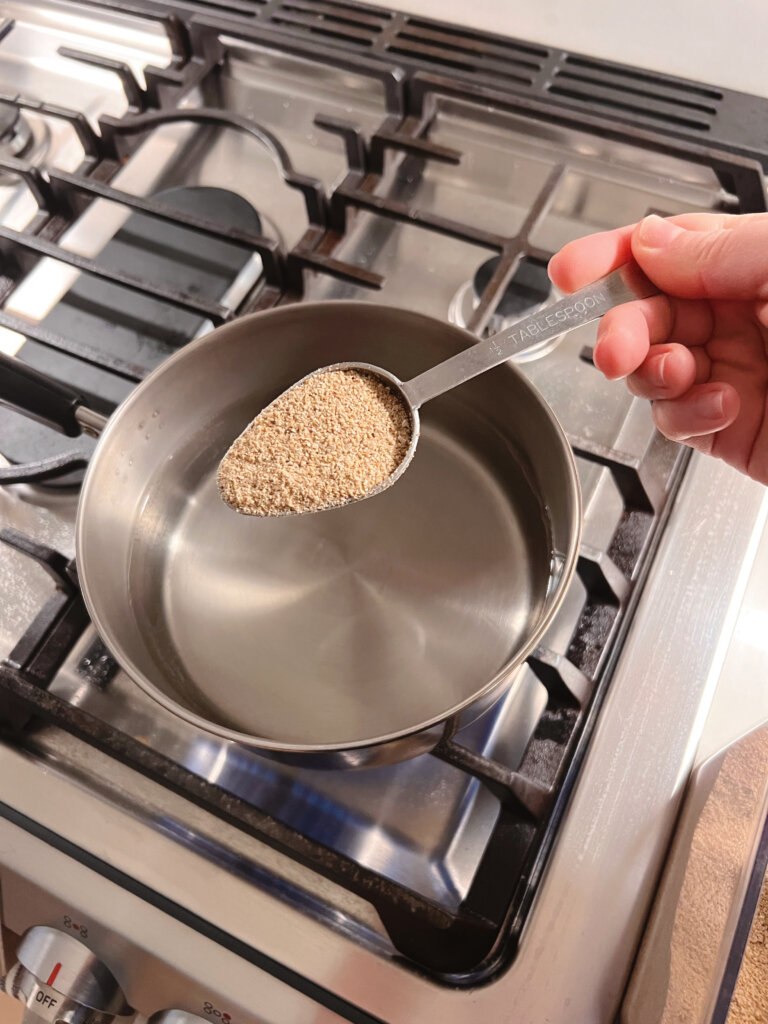
Step 1: Preparing The Enema Coffee
This process takes about 20 minutes + about another 20 minutes for it to cool off. If you’re pressed for time you can make your coffee in advance and reheat it on the stove. You can also add ice cubes to cool it if necessary. I make ice with filtered water.
I usually make it first thing in the morning, and then let it cool off well before I intend to use it.
- Boil 4 cups of filtered water
- Add 3 tablespoons of ground enema coffee and stir
- Boil for 3 minutes
- Reduce heat to a simmer for 15 minutes
- Let the coffee cool to a safe temperature before proceeding with the enema- I usually do somewhere around 110 degrees. I use THIS thermometer to monitor it. We don’t want any rectal burns!
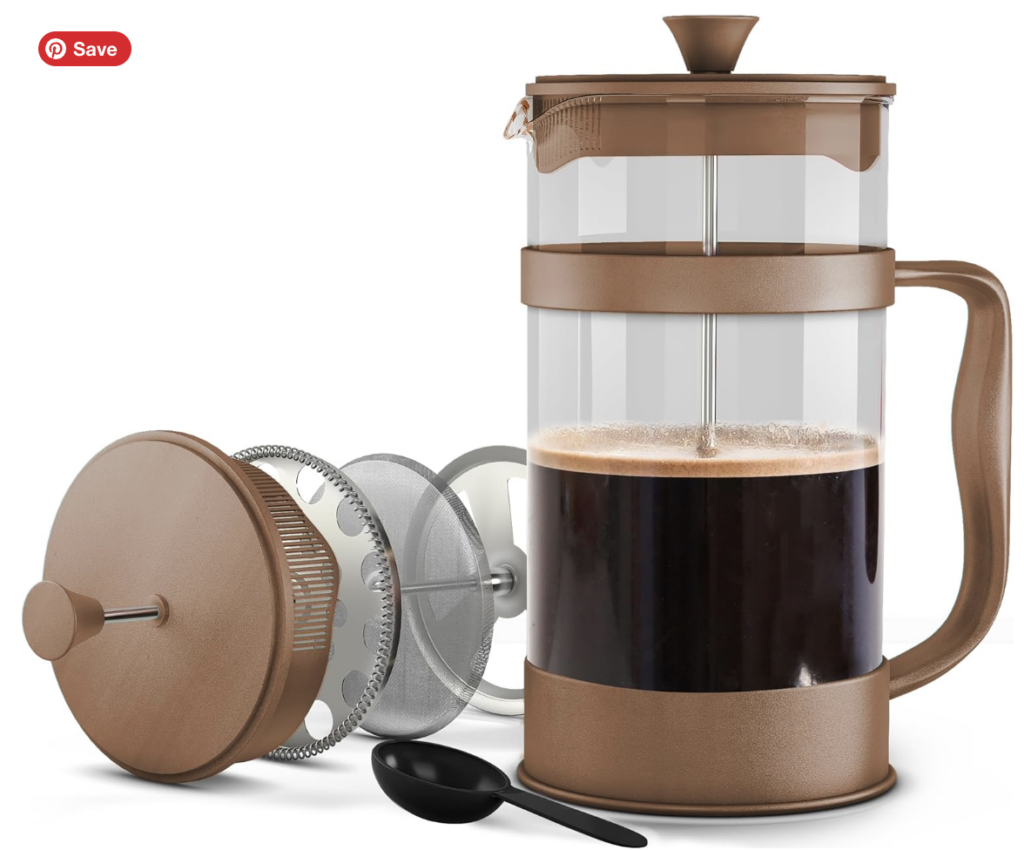
How to strain your coffee enema: The Coffee Press Method
I’ve found that using a coffee press to strain the coffee saves a lot of time and hassle! The fine mesh of the press filters out grounds better than a regular strainer. It’s also easy to clean.
Step 2: Prepare your space
I like to do my enemas in my bathroom because there is privacy, and tile in case I spill, which I definitely have.
Lay a towel on the floor that you wouldn’t mind getting wet or dirty if the enema coffee gets on it. You can even get a small pillow or roll up a towel to use as a pillow to support your head so you’ll be comfortable.
Keep your organic coconut oil handy to use when you start the enema.
Make sure you have a timer, watch, or phone with a stopwatch so you can make sure you leave the enema coffee in for at least 15 minutes. You can also get anything else you might want to make the time relaxing like a book, music, etc
Step 3: The Coffee Enema
Pour the enema coffee into the enema bucket *make sure you close the tubing clamp- I’ve sprayed coffee all over my bathroom and it’s not fun. You will only need to forget to do this one time and you’ll never do it again LOL.
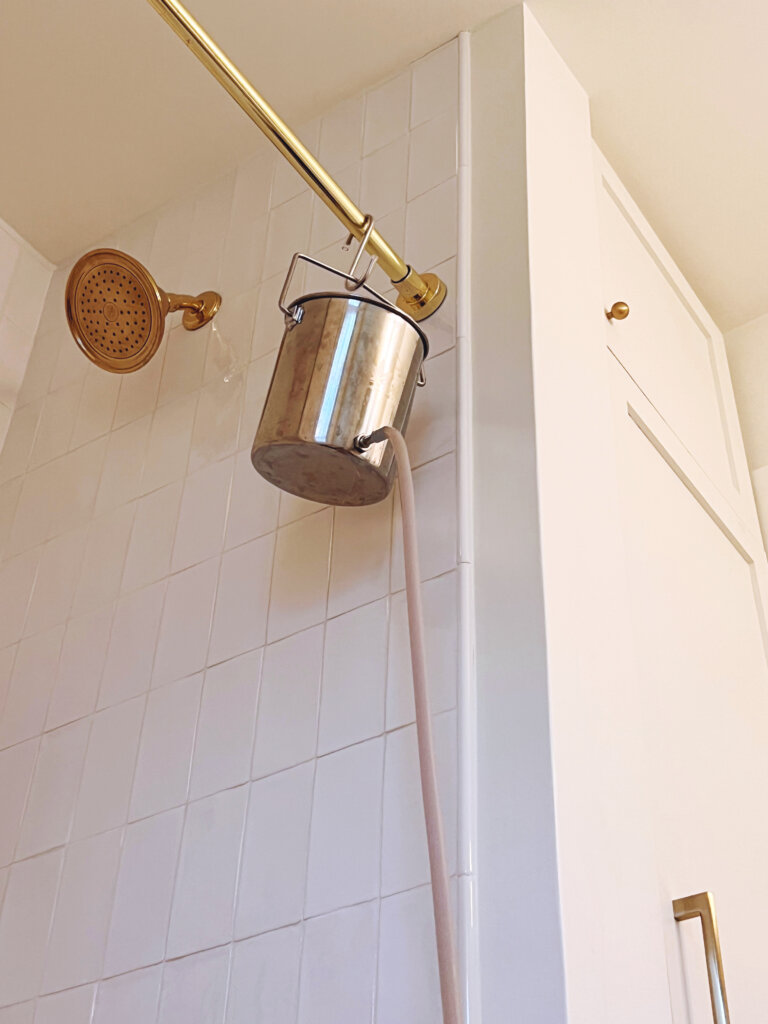
Take your enema bucket into the bathroom and hang it over the area you’ve set up – Some people say to not hang it higher than 18 inches because the flow comes through the tube too fast. I’ve experimented with hanging it from my doorknob and on my shower rod- both work just fine. Experiment and see what works for you. Just know, the higher you hang it the faster the flow will be. If you find that it’s not flowing through the tube, you may need to hang it a little higher.
You’ll need to get the tip of the tubing ready by putting a tiny amount of coconut oil on it to make the insertion easy. However, using too much will have the opposite problem – the tube not staying in place.
Get comfortable and relax your body on your towel and insert the tip of the tubing into your rectum – it should not be painful. If it is, you may want to add a tiny bit more coconut oil. You don’t need to put it very far up there- just enough to ensure the liquid will go in.
I like to lay on my back when I do enemas but some people say to lay on your right side. Again, experiment and see which you prefer. Either way, these positions help facilitate the flow of the coffee solution
Set your timer for 15 minutes and start it when you start releasing the liquid inside of you.
When you release the clamp you’ll feel the warm liquid inside of you. It feels a bit strange and you may experience cramping or fullness. It shouldn’t feel painful! If you do feel the need to use the restroom clamp the tube and go to the toilet ASAP! Release everything you can and continue with your enema.
Ideally, you would want to empty the entire bucket inside of you but don’t worry if you can’t retain it all. Just close the clamp when you feel full.
I like to clamp and release the tube every few seconds instead of letting it all go inside of me quickly. It takes a few minutes to drain the entire bucket and sometimes I need to release into the toilet a few times during my enemas. Try to keep the liquid inside of you as long as possible.
While I wait I like to listen to podcasts or audiobooks. Libby is a great app for audiobooks! It connects to your local library and has a great selection (and it’s free!).
When your timer is finished, close the tubing clamp, remove the tubing tip, go to the toilet, and eliminate the coffee.

Struggling to hold the enema for 15 minutes?
If I have the time I always start with the water enema before a coffee enema. This helps loosen and eliminate waste from the lower bowels and makes it considerably easier to retain the coffee enema for 15 minutes.
Step 4: Cleaning Your Equipment
Cleaning your equipment is very important after each use. It also ensures you’re ready to go next time.
- Clean the tubing tip. Use liquid soap and pour a little food-grade hydrogen peroxide over it after cleaning it.
- Clean the bucket. Pour a little hydrogen peroxide into the bucket, swish it around, and let it come out the tube.
- Clean the tubing. After cleaning the bucket, I add some more hydrogen peroxide to the bucket and then drain it through the tubing. After cleaning it, it’s very important to make sure the tubing dries completely before storing. I usually hang it so it’s not coiled up so no liquid remains inside and it can dry quicker. The tubing can be re-used if you take care of it and clean it properly.
That’s it!
What should you expect after a coffee enema?
I’ve gotten the hang of this coffee enema process and I want to share some practical advice to ensure your experience is as smooth and beneficial as possible. Staying hydrated is key; drink plenty of water. This can’t be overstated. Hydration will help your body flush out the released toxins and maintain balance.
You may also feel shaky or experience heart palpitations as a side effect of the caffeine. This happened after my first time but hasn’t happened since. And I’m pretty sensitive to caffeine and when I drink coffee I have decaf!
I’m not a doctor and this is not medical advice. If you have further questions or are curious If this would be a good treatment for you to try I suggest speaking to a medical professional.
I hope you found this post about coffee enemas helpful! They can be a powerful tool with many beneficial effects for your wellness toolkit!
Let me know in the comments if you’ve ever tried one or if you’re feeling ready after reading this!
If you enjoyed this post you’ll love:
14 Tips on How to Open Detox Pathways
The Differences Between Non-GMO and Organic Food
Berkey Vs. AquaTru Water Filters
How To Recognize And Treat Parasites
How To Heal Your Cold, Flu, or Sore Throat Holistically
The Benefits of Taking Borax: Dosage, Usage Tips, and More
xx,
Lauren