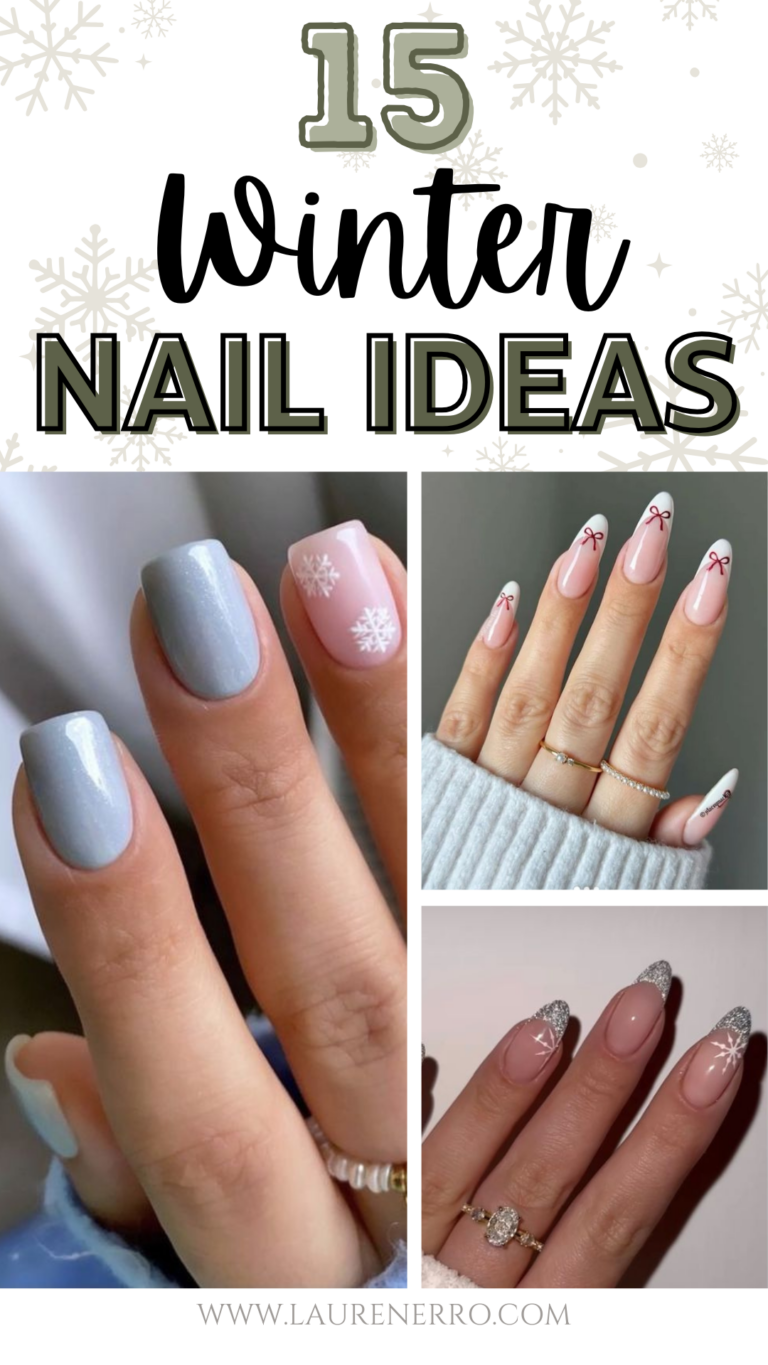
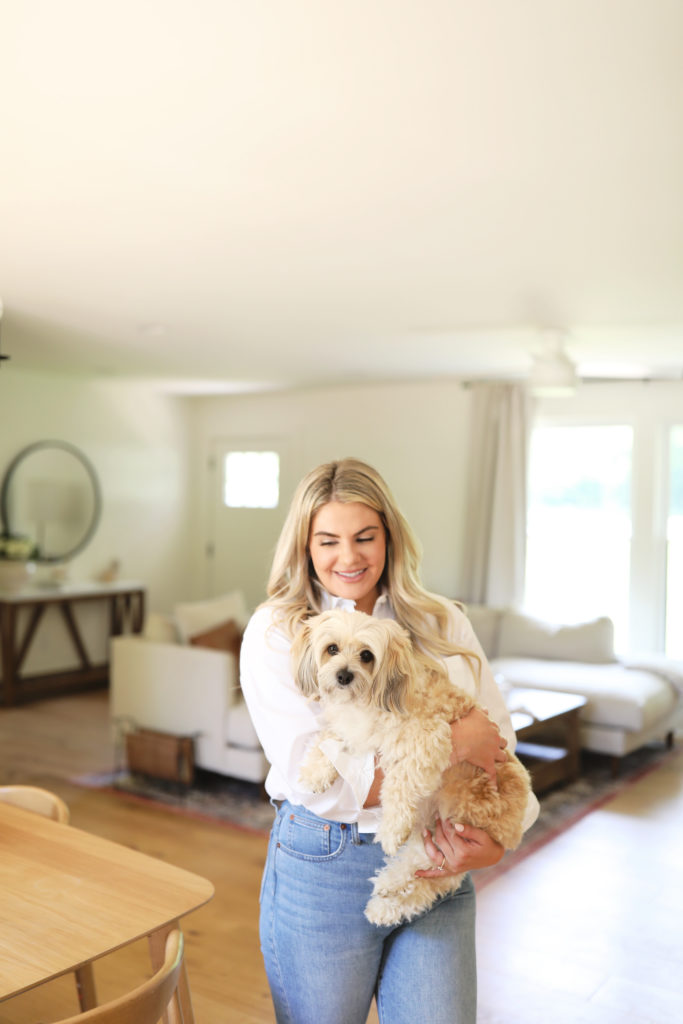
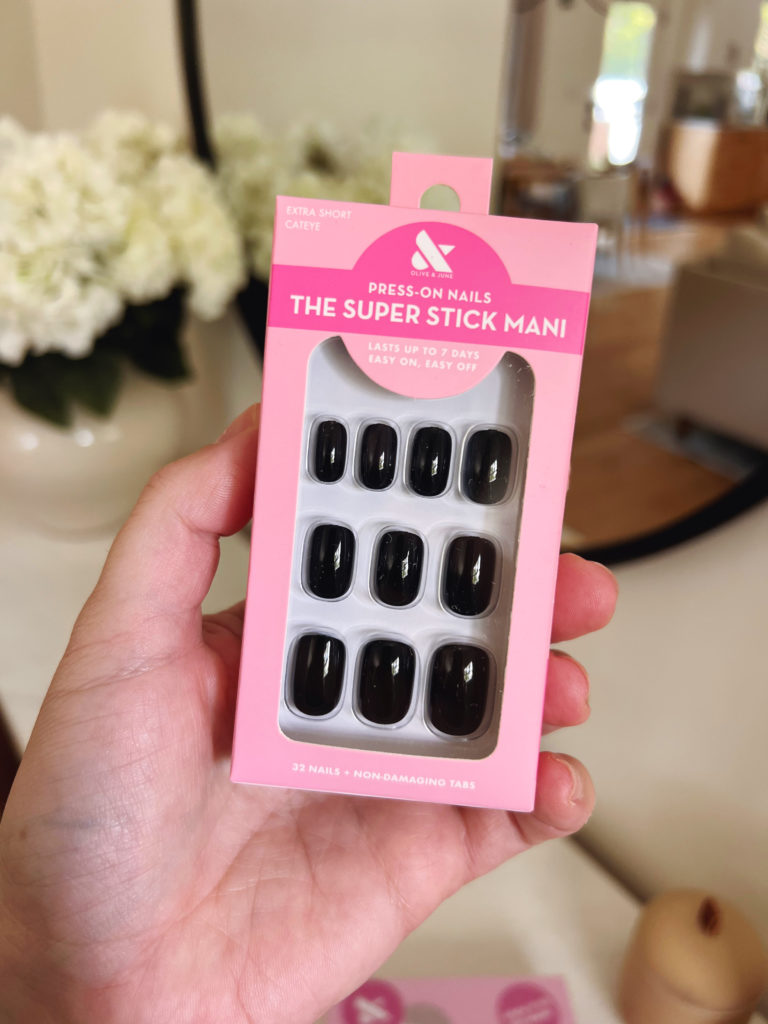
Olive and June Super Stick Mani Press On Nail Review
Olive and June launched a new nail product! They now have press-on nails that use sticker tabs instead of glue! I’m a big fan of so many of Olive and June’s products so I was super excited to test their Super Stick Mani!
In this review of Olive and June’s Super Stick Mani, I’ll cover:
- Everything you need to know about Olive and June’s Super Stick on Mani
- Olive and June’s Super Stick on Mani compared to Olive and June’s Press on Nails
- Olive and June Super Stick on Mani compared to Dashing Diva and Kiss ImPress Press ons
- How to apply Olive and June’s Super Stick on Mani
- How long does Olive and June’s Super Stick on Mani last?
- How to remove Olive and June’s Super Stick on Mani
If you prefer to watch videos, here is my video with the full application and review:
Everything you need to know about Olive and June’s Super Stick on Mani
Olive and June is made from 94% recycled materials, they’re non-damaging, non-toxic, vegan, and cruelty-free.
The Super Stick mani is currently available in 31 styles- 12 solid colors and 19 designs. They come in two custom shapes- squoval which is square oval and round and in length short and extra short. Which, I really appreciate because I have very short nail beds.
The set is $8 and comes with 32 nail sizes, an alcohol prep pad, a cuticle pusher, a nail file/ buffer, and 32 adhesive tabs on the tab wheel. The application is a 2-step process, which I’ll explain later in this post.
Olive and June’s Super Stick on Mani vs. Olive and June’s Press on Nails
This is a little confusing… Olive and June call their glue-on nails “press ons” and the actual press-ons their Super Stick Mani? I feel like they never planned on making stick-on nails haha. Anyways… The super stick nails are more flexible whereas the glue ons feel more like plastic. Both look very natural when they are on your nail- not thick or bulky. The glue-on nails come with 42 total nail sizes in one box and cost $10. I can get two full sets out of one glue-on set!
See my full Olive and June Glue on nail review HERE.
Olive and June’s Super Stick Mani Press On Nails Compared to Dashing Diva & Kiss Impress
Olive and June comes with 2 more nail sizes than Dashing Diva and comes in at $1 less. Kiss Impress cost the same as O&J but also have 2 less nails per kit. Sizewise, Dashing Diva and O&J fit my wide nails better. I always struggled with finding nails large enough from Kiss Impress.
Dashing Diva has lasted up to 14 days on me before, but they usually last anywhere from 5-7 days. Impress usually come off on the same day I apply them. I’ve heard that other people have better luck with Impress but I think now that O&J is in the market they’ll blow them out of the water.
Dashing Diva has a lot more nail styles. lengths, and designs, but they’ve been around much longer. Olive and June and Impress also have a lot of fun designs but I really like how many plain styles Olive and June have.
Out of the 3 brands, Olive and June is the only one that is a 2 step process to apply. The others have the sticker attached to the nail already so you’ll probably save more time with Dashing Diva or Impress.
Here is my full Dashing Diva Press On Review.
The Olive & June Systems are the best deal
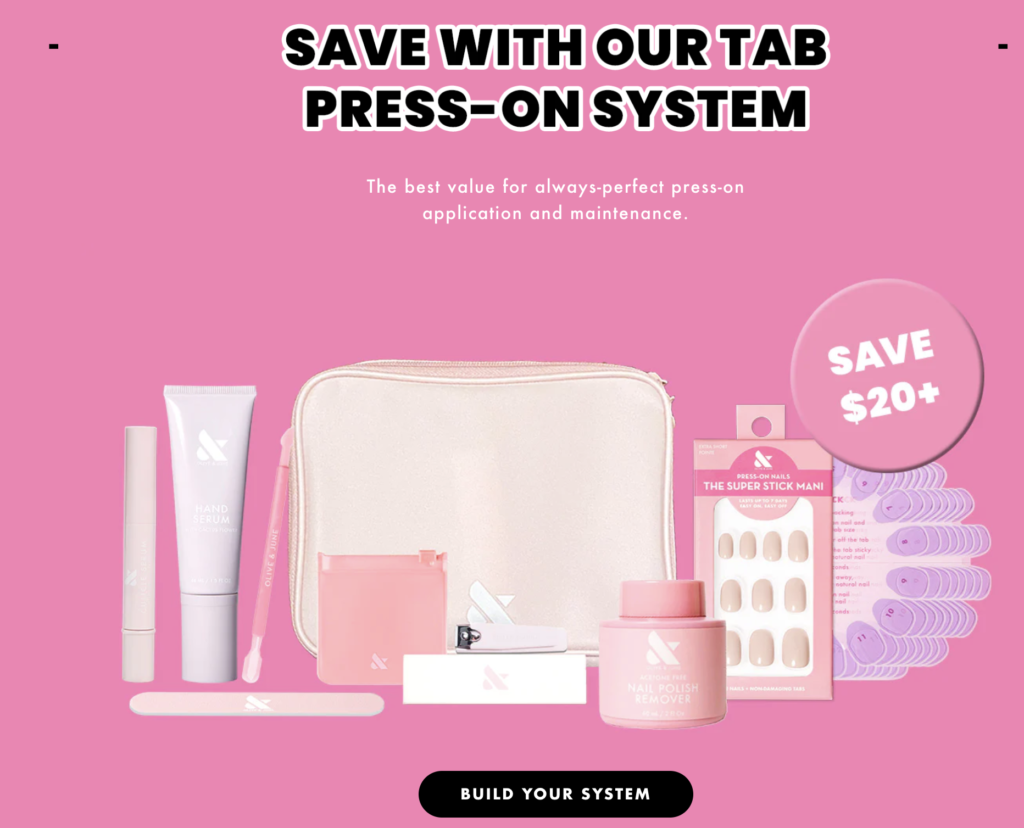
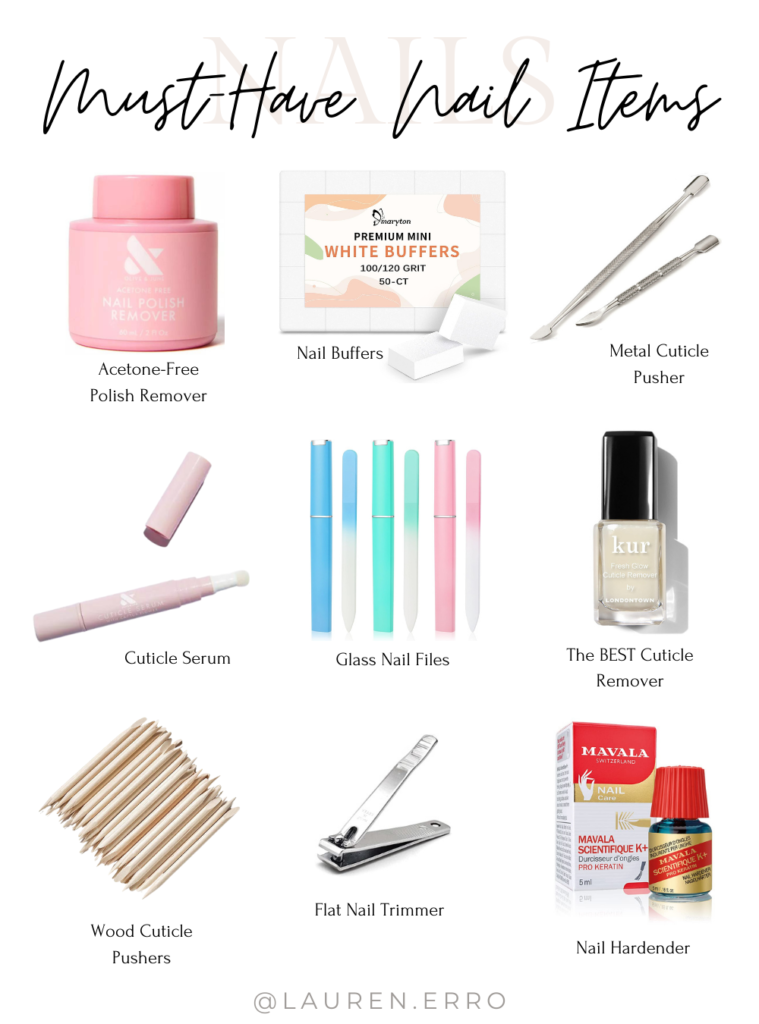
Another thing I like about Olive and June is they have a whole system that has everything you would ever need for your nails. I like to get these as a starter set and then just buy nails as needed after. So if you’re just getting into nails, that is a really good place to start.
It comes with their remover pot, which I am obsessed with. A plastic cuticle pusher, so it’s not too abrasive on your nails. A buffer, their cuticle serum which makes my cuticles so happy- it’s super hydrating but not greasy. I keep one in my purse and one in my nightstand. The set also comes with nail clippers, a hydrating but not greasy hand serum, a nail file, and a bag. It’s a really well-rounded kit if you are new to DIY manicures!
If you’d prefer to purchase one-off nail items I’ve linked my must-haves below- just click the image and it will bring you to everything.
How to prepare your nails for the application of the Olive and June Super Stick Press On Nails
- Start with buffing your nails. This gets rid of any ridges, any leftover glue, or any stuff on your nails from previous nail applications.
- Clean off powder residue with Olive and June’s nail polish remover pot. I love this pot so much- it’s acetone-free, mess-free, and so easy to use to remove polish or make sure your nails are clean before application.
- Apply cuticle remover. This is the best cuticle remover I have ever tried. It’s so easy to use- just brush it on and then you grab the cuticle pusher stick and push your cuticles towards your hands. You just don’t want to be too hard on your cuticles. Just push them back gently. That’s why I like that cuticle remover- it loosens everything up. *You don’t want to cut your cuticles. You just want to push them back. Cutting them can lead to infection, hang nails, and other issues down the road that we don’t want to deal with…
- Wipe your nails off with a tissue- don’t wash your hands! It’s better to just use the alcohol pot and get everything off because the water and soap prevent the nails from lasting quite as long.
- Find your nail sizes and line them up. You want to find one that fits the best on your nail. If nothing fits perfectly go for the size that’s a tad smaller vs. too wide- it’ll stick better. What’s nice is the nails have numbers on them. So, unless your nails are different sizes on each hand, you can match the numbers and save time.
- Now you grab the buffer and lightly file the top of your nail. This is going to create a little traction and help everything stick better.
- Wipe each nail with the prep pad and now you’re ready for application.
How to apply Olive & June’s Super Stick Mani
- Always start applying from the pinky to the thumb, trust me! I usually do one hand’s pinky, ring, and middle finger then switch to the other hand. Then my pointer fingers and thumbs are ALWAYS last.
- Grab the correct nail size and look at the number on the nail- this coincides with the number on the tab wheel.
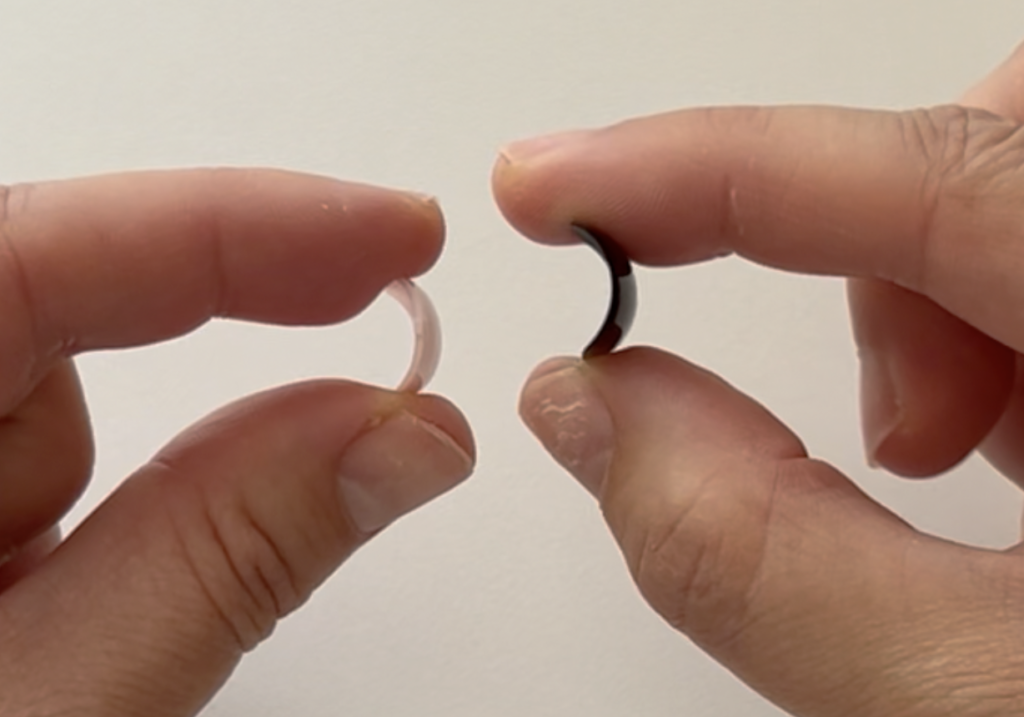
- Peel the pink cover off the tab wheel, then remove the purple cover from the same number as the actual nail (this is the perfect size for each nail).
- Apply the sticker to your nail but don’t get it too close to your cuticle (I struggled with this). Press it down and squeeze out any air bubbles.
- Peel the tab wheel off and apply the nail with the rough tab pointing outwards, not towards your cuticle.
- Press it down for 10ish seconds and make sure it’s really secured.
- Repeat until every nail is applied. You can file and shape the nails however you like.
- Don’t get your nails wet for at least an hour after you apply, this will help with longevity. The best trick is to apply right before bed.
My initial thoughts
How they look:
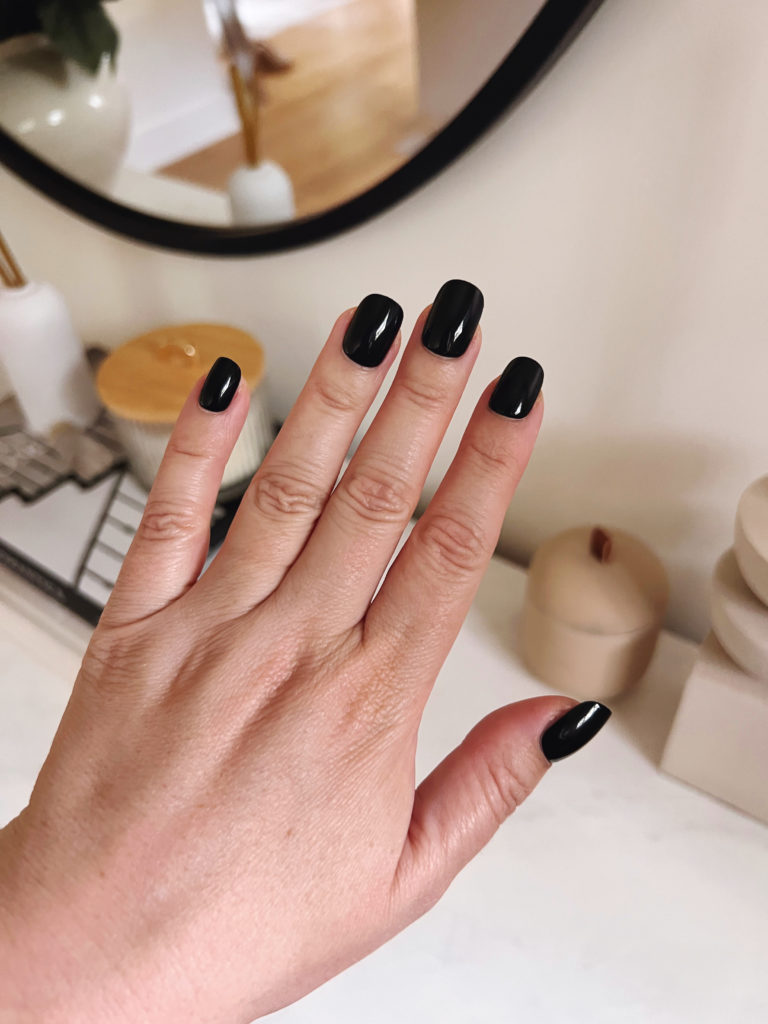
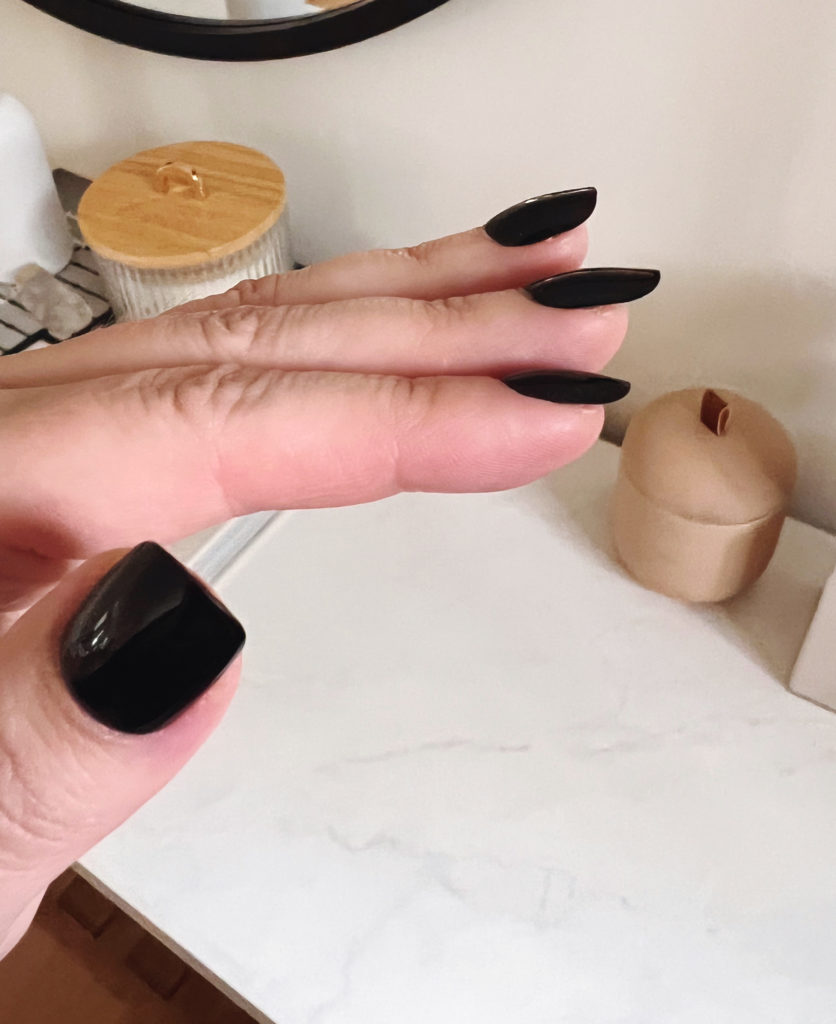
I loved how they looked, I think they’re beautiful and natural-looking! I really like how the profile is very thin.
These are the extra short length in color Cat Eye and they’re definitely still long on me. I grabbed my fake nail clippers and trimmed them down. These are amazing because they are rounded so they don’t lift the sides up when they cut the nails. Then I filed them down and they were perfect. *They’re definitely longer than Olive and June’s extra short glue-on nails.
The Application Process:
The application took a bit longer than Dashing Diva because of the two-tab system. I struggled to get the purple cover off the tab wheel without removing the entire sticker a few times but I got the hang of it.
Another thing that I struggled with was I kept putting it too close to my cuticle. Olive and June recommend putting the nail kind of underneath your cuticle because it makes it look really seamless and lasts longer, but I kept getting the sticky tab too close to my cuticle so I couldn’t get the nail underneath. I don’t know how I would fix that next time. Because I kept trying to fix it this time and it kept happening. It really wasn’t that big of an issue though.
Olivie and June suggested you trim your natural nails before applying but if you’re like me and you have short nail beds I recommend not doing this. The sticky tab was longer than my natural nail and so it stuck out under the nail. No one would see this but it has been an issue with other brands in the past. I would pull the sticky off and sometimes the entire nail would come off with it! Thankfully I didn’t have that issue with these!
Final Thoughts on Olive and June’s Super Stick Mani Press On Nails
I’m VERY impressed with Olive and June’s Super Stick Mani!! The nails easily lasted 7 days and the only reason I took them off is because I had to have a surgery and needed my nails to show. Every nail lasted through 3 hair washes and two dog baths and they never started lifting near the cuticle and pulling my hair out!
Some of the nails would slide around almost immediately after application. Both pinkies were moving but as the week went on a few of the others started too. Usually when nails start sliding around it means they’re about to come off but these were very secure still. My thumb started to lift on one side on day 2 but I pressed it back down for a few seconds and it resecured itself and didn’t have any issues the rest of the week.
I suggest leaving a little space between the nail and your cuticle. Press-on nails always slide up and if they’re too close and you’re pressing your nails into something it pushes the nail into your skin. It isn’t painful but it’s something to be aware of. Also, quite a lot of goop came off from where the tab was close to my cuticle during the week. It almost looked like my cuticles were coming off! It was easy to remove by just rolling it around and pulling it off though.
Overall these are great! I definitely would give them a try. I almost wish all glue-on nails were made out of the same nail material because these are a lot more comfortable to wear. They’re just a little bit more bendy and they don’t chip. That’s one thing that I always deal with with glue-ons, since my nails are so short I have to file them down, and when you do that the design or glossy top coat always starts chipping. This happens with every brand *except* Olive and June have an extra short length in their glue-ons that I don’t have to file so that’s really nice!
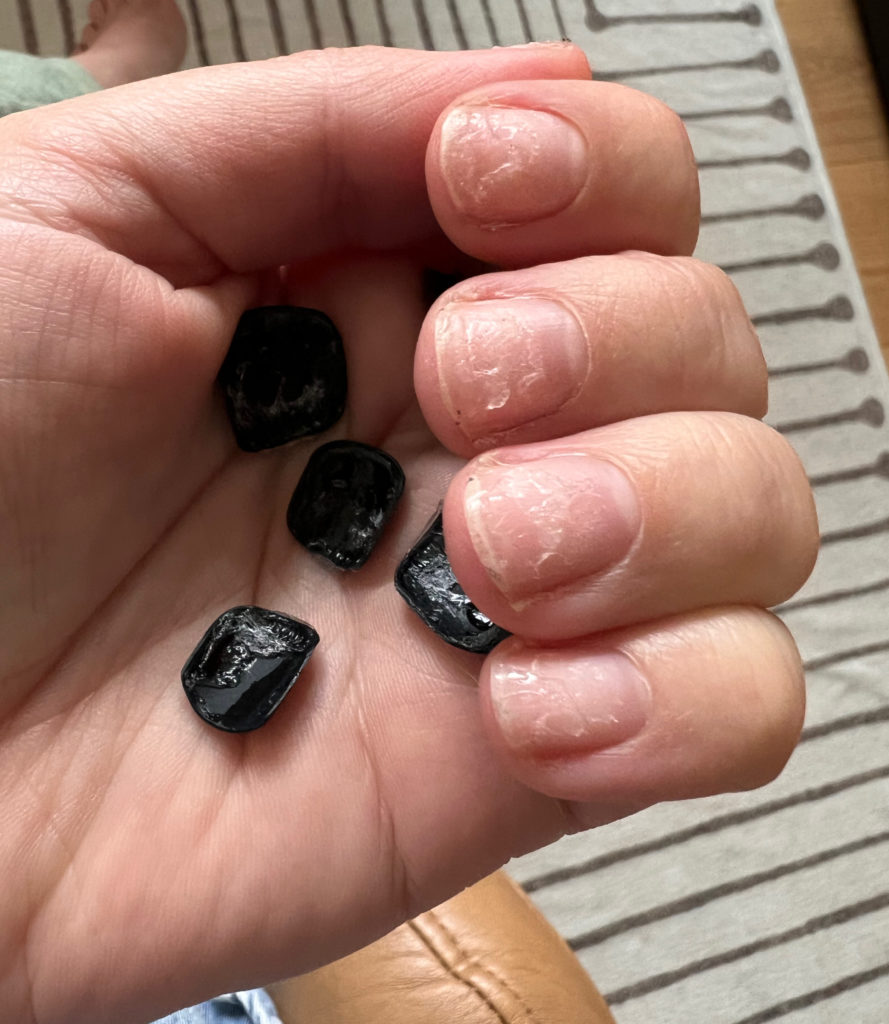
How to remove Olive and June’s Super Stick Mani
The nails were surprisingly still super ON after 7 days! I stuck my nail underneath and started lifting it off. They were really on there! After I removed all of the nails I had a lot of the sticky tab left over. I tried using acetone on them and it didn’t help so I ended up rolling the sticker around a while til they came off.
My nails weren’t damaged at all! Definitely better than after I remove glue ons haha.
Overall I say, if you want to try them, definitely, definitely try these nails. I’m very happy with them!
If you use the code OJLAURENERRO20 you get 20% off any of Olive and June’s nail systems!
Have you ever tried stick-on nails? What do you think about them? Let me know in the comments!
If you enjoyed this review you’ll love:
Olive & June Mani System Review
Review of Olive & June’s New Press on Nails- The Instant Mani
All of my nails review HERE
xx,
Lauren