Olive & June Mani System Review
Are you a DIY beauty fan? I am and I’m always looking for products that make my beauty routine easier. I’ve been doing my own nails for years- whether it’s nail polish or press-ons… If I can do it myself, I’ll try. I generally wear glue on nails but sometimes I just want to give my nails a break and with my line of work that isn’t always an option- I need to have something on my nails otherwise my hand photos are NOT cute. Painting my nails isn’t something I’ve mastered yet so when I saw that Olive & June has a tool to make it easier I knew that I HAD to try.
I decided to get the full Olive and June Mani System so I can give it a review for you + see if it’s all it’s cracked up to be. Spoiler alert, it is. In this post, I’ll share the details of everything I tried and my thoughts on each item. I also bought a few of the add ons so I’ll be reviewing those for you as well. Let’s get into my Olive & June Mani System review!
If you want to watch a video review of the Olive & June Mani System instead of reading a blog post here it is:https://www.youtube.com/embed/PsXd-62Fed4
What’s So Special About Olive & June Nail Polish?
Well, first of all… I just tried the Olive & June press-on nails and LOVED THEM. (Full Olive & June review here) The Mani System was so intriguing because of the Poppy! This funny-looking little tool is supposedly the biggest DIY nail game changer. It makes painting your nails way easier because it helps to steady your hand, especially your non-dominant hand. So with the Poppy plus the mention of polish lasting 5-7 days? I was sold.
BTW if you want to buy any Olive & June sets I have a 20% off discount code for you HERE. Use the code OJLAURENERRO20 at checkout.
Olive & June nail polishes are crafted to be a long-lasting polish formula with a base coat inside the polish! When you add the top coat, you should get 5 – 7+ days of wear. Their nail polish formulas are vegan, cruelty-free, and 7-free. Btw, 7 free means it’s free of 7 toxic chemicals that are common in most regular nail polish formulas: dibutyl phthalate, formaldehyde, toluene, formaldehyde resin, camphor, ethyl tosylamide, and xylene.
This system comes with 11 items and is $55 if you select one polish color or $85 if you select 6. The 1 color is a $69 value and the 6 is $109 so it’s definitely worth buying a set. Especially with my 20% discount code.
The Olive & June Mani System also has a 4.6-star rating with 7385 Reviews!
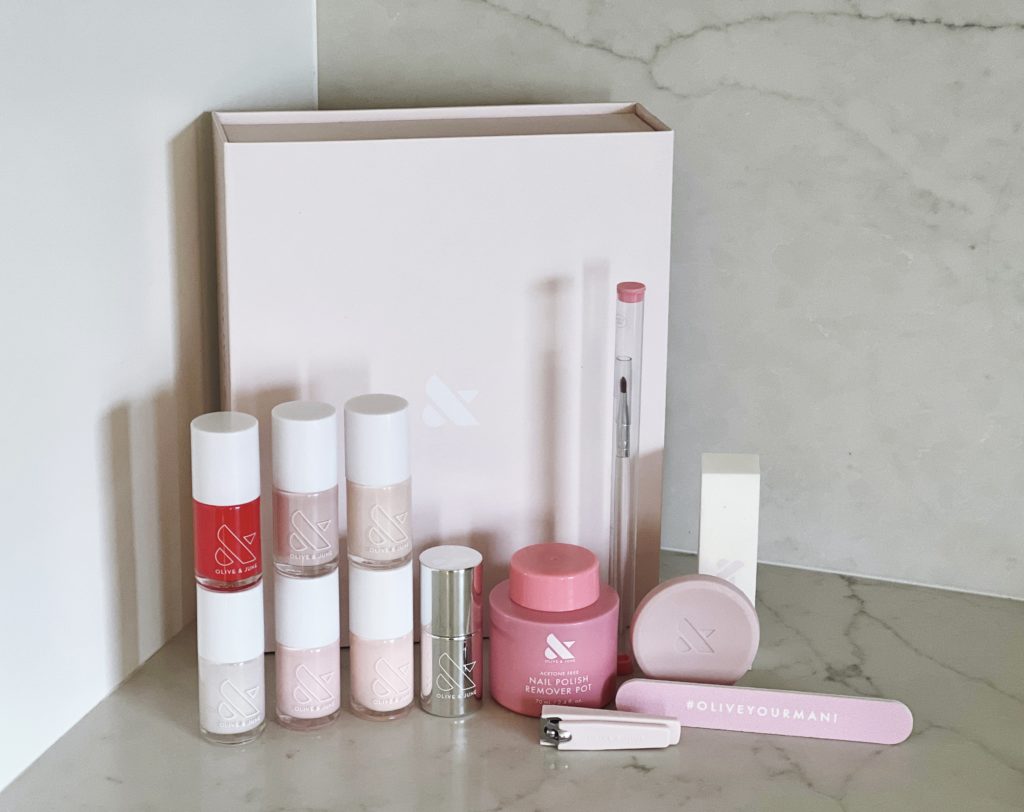
What comes in the Olive & June Mani System?
- Regular Polish color(s) of your choice
- Poppy
- Cuticle Serum
- Super Glossy Top Coat
- Mani Perfecting Clean Up Brush
- Acetone Free Nail Polish Remover Pot
- Straight Edge Nail Clipper
- Dual Grit Mani File
- Nail Buffer Bar
- Studio Box
- Pouch
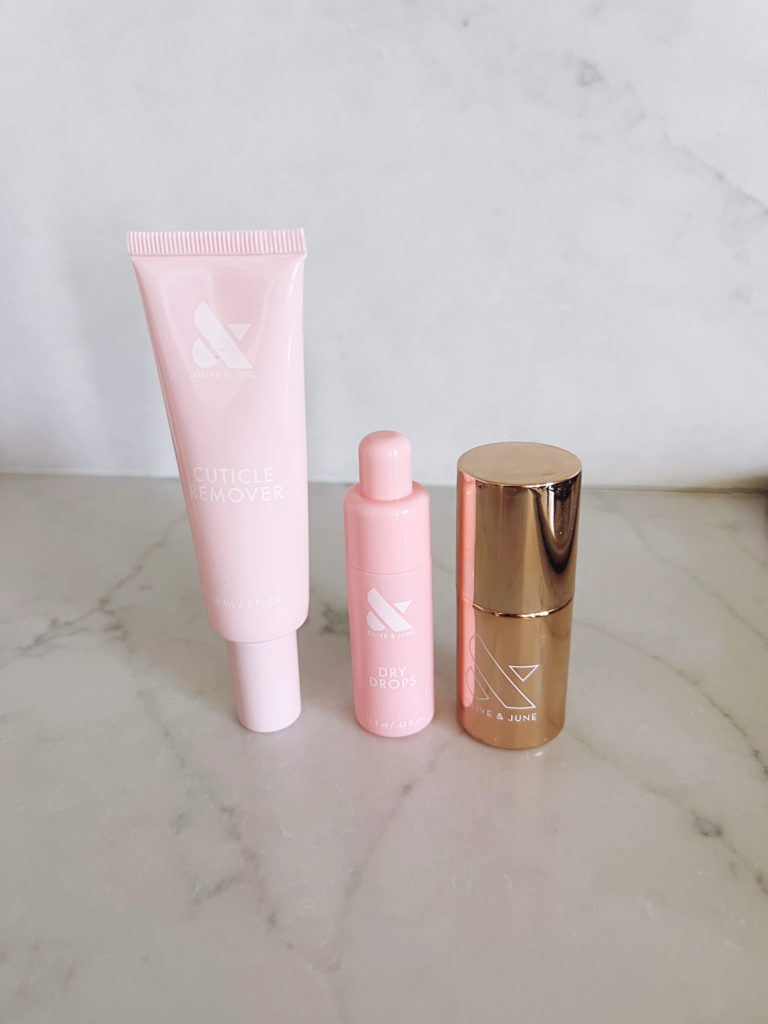
I also purchased the cuticle remover, Primer, and Dry Drops.
The cuticle remover is $10 and it gently exfoliates and softens the delicate skin around your nail to make cuticle care easy and safe — no clipping necessary.
The cuticle remover has:
- Key ingredients: Avocado Oil, Argan Oil, and Jojoba Oil help moisturize and nourish
- Dermatologist tested and fragrance-free
- Vegan and cruelty-free
The primer is $10 and helps your manicure last 2-3 days longer than average. It also increases durability by 20% and gives you a smoother application.
The dry drops are $10 and I was SO excited to try these. I ALWAYS mess up my nails before they have a chance to dry so I never actually make it to see if the polish will last 5-7 days. Instead, I just waste hours painting and then removing my botched nails.
The dry drops:
- Dry nail polish to the touch in 80 seconds or less
- Have Jojoba seed oil gives nails a salon-perfect shine
- Applies with one hand thanks to the easy-squeeze tube
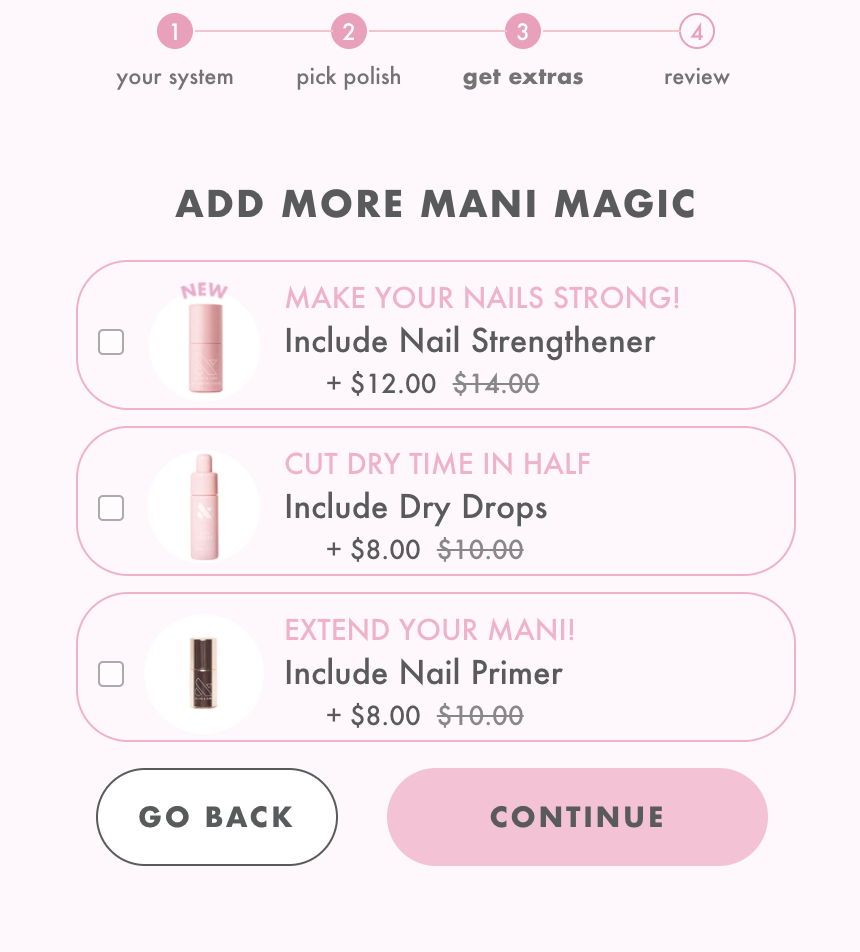
If you add the primer and dry drops to your mani system order you get them for $8 each. And if you are an Olive and June member you get the cuticle remover and primer for $1 off. The Olive & June membership is $40 a year and you save 10% on all of your purchases. You also get member-only surprises- I’m not sure what this includes though because I’m not a member.
How I tested Olive & June
I wanted to see how the mani system did on its own and if you really need the add ons so I tested the primer on one hand and see if it helps with how long the polish lasts and also see how it affects the overall dry time. I used the dry drops on a few fingers on each hand to see if it really made my nails dry faster.
The Olive & June Polish Painting Method.
Olive & June has some great painting tips that I’ve never tried before so I’ll walk you through their steps if you want to try them for yourself.
- Grab the flat edge nail clippers and start clipping your nails. They recommend doing this over your old nail polish so you can see what shape you like with the polish on. Since I mostly wear press ons I didn’t have old polish on but that is a good tip! They say to let the clipper do 90% of the work then file the last 10%
- Next, file your nails in one direction. This will ensure that your nail is smooth, and not jagged. You should never “saw” your nails back and forth with a nail file. This will cause peeling and breakage of the nail.
- Now you’re good to remove your old polish with the polish remover pot. I am obsessed with this- it works so well!
- For your cuticles, they recommend taking a thumbnail and gently pushing cuticles back- do it in the shower or bath while your cuticles are the most supple to train them to lay flat. Messing with your cuticles should never hurt, btw. *Since I purchased their cuticle remover I used this instead.
- Clear off the surface of the nail- I used a paper towel
- Grab the buffer and place the corner in the crevice of the nail/ cuticle. Use the buffer like an eraser and buff the nail until it’s smooth of all ridges and bumps. You don’t need to push super hard- it works very well! This also works to file off your cuticle!
- Use acetone again- don’t wash your hands! Water in between nail polish and the nail plate causes chipping
- The mani system doesn’t come with a base coat because they say the polish includes it in it. I bought the primer and tested it on one hand to compare to the other. I like how quickly the primer dries and the small brush is very maneuverable. The primer feels similar to that liquid they use at the nail salon before they start gel or dip… you know what I’m talking about.
- All Olive & June polishes have an overcap on top of the cap. Pop it off and place the Poppy on the small lid. Line up the flat side of the brush to the flat side of Poppy. Don’t push poppy down too far- Leave the polish’s white cap in view
- Lift brush out of the bottle and wipe one side of the brush then lightly wipe the other side
- Start the brush in the center of the nail and push down towards the base of the cuticle then pull back towards the end. The first coat should be super thin
- Wait 5-10 min between coats to make sure the polish doesn’t chip later. This also ensures you won’t have any bubbles
- Second coat start brushing at the cuticle and brush towards the tip
- Apply 2-3 thin coats and let each one dry 5-10 minutes or longer in between
- To clean up grab the clean-up brush and swirl it in the remover pot. Wipe off any polish that got on your skin.
- Apply top coat- and do this every 2-3 days
- I applied the dry drops to my middle- pinky fingers on both hands. It feels very oily I was surprised!
- Apply the Olive & June Cuticle serum- once you are totally dry- like wait an hour … I’ve been using this for a few weeks and am so impressed! I had this dry patch on my big toe and after 2 days it was gone!
- You can reapply the topcoat after 2-3 days to help the polish last longer.
My final thoughts on the Olive & June Mani System
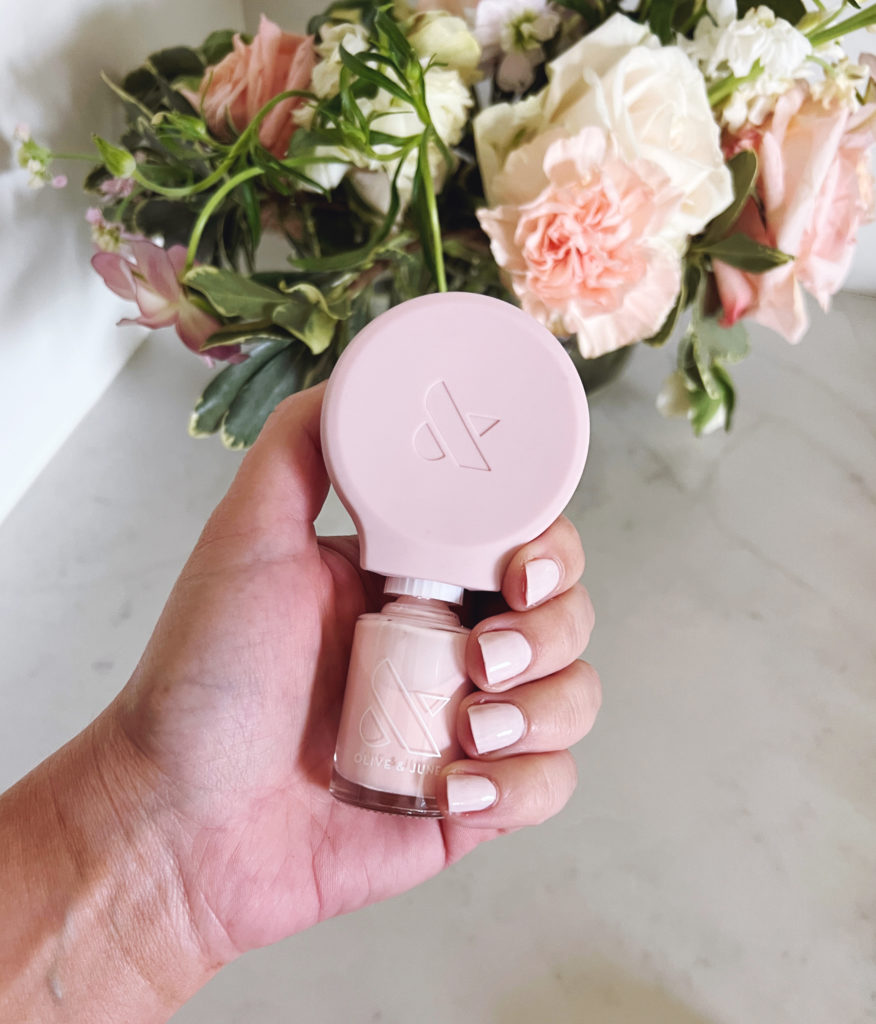
I’m really impressed with Olive & June! The whole system gives you a great manicure. The nails on the right hand I used the primer definitely held up better. And the Poppy really did give me the neatest polish application I’ve ever one myself. My thumb and pointer fingers on the non-primer hand started chipping the next day! Overall the nails lasted 4 days on the primer hand, that’s a huge difference for me! That is a win in my book!
To be honest, the cuticle serum was very runny… I wouldn’t say it’s my favorite- I prefer Londontown’s cuticle remover.
The quick dry drops feel very oily. It was hard to tell if it made any difference because they felt so wet from the oil. I don’t think they really helped and I didn’t like that I couldn’t wash it off right away. I wouldn’t recommend you purchase this.
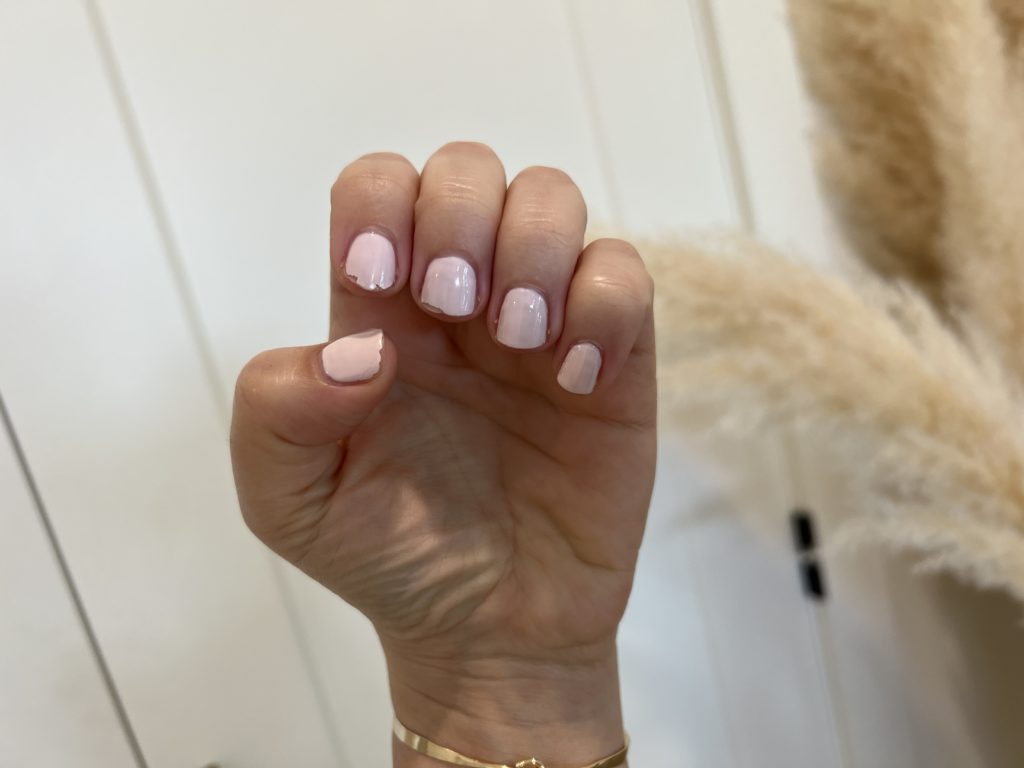
I love everything that comes in the set! The cuticle serum, remover pot, buffer tool… it’s all so good! I HIGHLY recommend you buy the whole set!!! Out of the add-on’s I purchased I recommend the primer the most. It definitely helped the polish last longer.
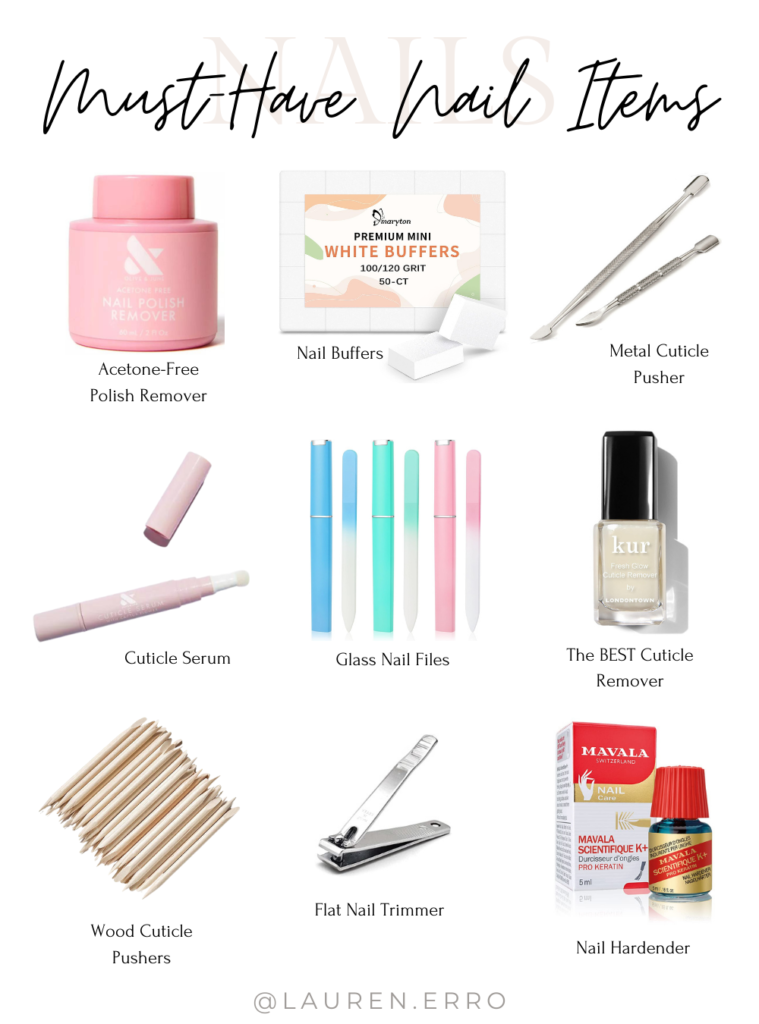
Must-Have Nail Tools
Here are the tools and products that I swear by to keep my nails healthy and in great shape. I like to do my own manicures at home, and these products do the trick to make my manicures last! Click the picture for the links!
Thanks for reading my Olive & June Mani System Review. Have you tried any Olive & June products? What do you think?
I also link a lot of beauty finds on my Amazon Storefront follow me over there for the latest!
If you liked this post you’ll love my review of Dazzle Dry.
xx,
Lauren

