Everything you NEED to know about your Nails… and DIY Pedicures!
I’ve always wondered if nail polish is ruining my nails. Especially my toes. I’ll leave it on for about a month then swap it for a fresh color and whenever I take my polish off I’m mortified by the condition of my nails. They look dried out, have white patches, and sometimes are flaky. This can’t be healthy, right?? I decided to do some research and what I learned is actually really interesting!
The Facts:
- Most nail polishes sold today were reformulated to become 3-free. Yes, even major brands like OPI and Essie! This means they no longer include the three harmful chemicals, Formaldehyde, Toluene, and DBP. This also means they are pregnancy safe!
- Nails are technically dead – so you don’t need to “let them breathe”.
- Nails are made of keratin, just like our hair, and can become damaged and dried out with exposure to acetone- which is basically all they use at nail salons. You can buy non-acetone based nail polish remover that works just fine. There are also many natural nail polish removers on the market now.
- When nail polish is left on for a prolonged period (usually over one month) keratin granulation can develop. That’s the technical name for those white, rough patches in and on the nail. Though it looks bad, it isn’t. I’ll tell you below how to fix it!

Do it yourself!
You all know I’m a huge fan of DIY beauty and over the years I’ve gotten really good at doing my nails. I actually really enjoy doing at home pedicures, and they’re surprisingly easy! Heres what you do:
- Remove your old nail polish with nail polish remover- never pick it off, this damages the top layers of the nail. I love 100% pure acetone- it’s quick and easy. If your nails are yellow rub a lemon or hydrogen peroxide on them. That discoloration is most likely from the shade of polish you had on.
- Wash your feet with soap- there’s no need to soak them, and doing so can actually dry them out worse.
- Trim or file your nails- if you choose to file them go in one direction, not back and forth, that causes the nail to break.
- Use a buffing tool to smooth any ridges and remove the sharp edge of the nail. When you buff, start at the cuticle and buff away from your foot. This is similar to filing, where going back and forth is not good for the nail.
- Rub oil onto your nails and cuticles and massage it in for a few seconds- This pushes the moisture into the cracks and you’d be surprised how great your nails will look after! You don’t need a special foot oil, any will work. I use Jojoba.
- If you want to remove your cuticles use this. It is by far the most effective cuticle removing product I’ve ever used!
- Grab a wood cuticle stick and push your cuticles towards your nail bed -Wood is more gentle than metal. You never want to cut your cuticles, this can lead to infection and hangnails.
- Massage more oil onto your nails when you’re done.
- File your calluses – This is the best tool I’ve ever used for my calluses. I’ve tried everything and my calluses always come back within days. This will keep them away for weeks! Worth. Every. Penny.
- I like to wash my feet with soap again just to get the dead skin off my feet and remove the oil on my nails.
- Put on your toe separators- sometimes these hurt my feet so I usually just put a cotton ball between my toes to separate them.
- Paint the base coat and let dry.
- paint 2 coats of nail polish (let dry between coats). Use a small flat brush with acetone to clean excess nail polish off your skin.
- Paint top coat – I always go for top coats that are quick drying.
- Stay still for at least 10 minutes! Don’t start running around cleaning or doing whatever… Trust me, once you ruin your nail it’s like a downward spiral. You have to redo the whole process and it takes WAY longer than 10 minutes.
- Moisturize your feet- I like to do this once I know my nails are 100% dry.
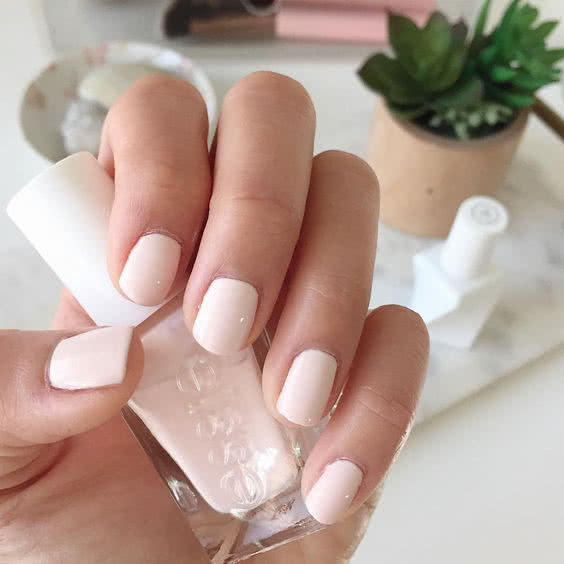
Lately, I’ve been getting my fingernails done at the salon, but when I used to paint them at home I would use the Essie Gel Couture Nail polish. You have to use the specific top coat it comes with but its worth it! They dry SO fast and last way longer than nail polish. The brush is also rounded and a little thicker than their competitors, so it’s easier to get a really perfect coat. I HIGHLY suggest you try them!
I hope this post helped answer some of your questions about your nails! LMK if I missed anything!


Great tips!
I’m so bad when it comes to my nails so I’ve been getting them done more often then I have in the past!
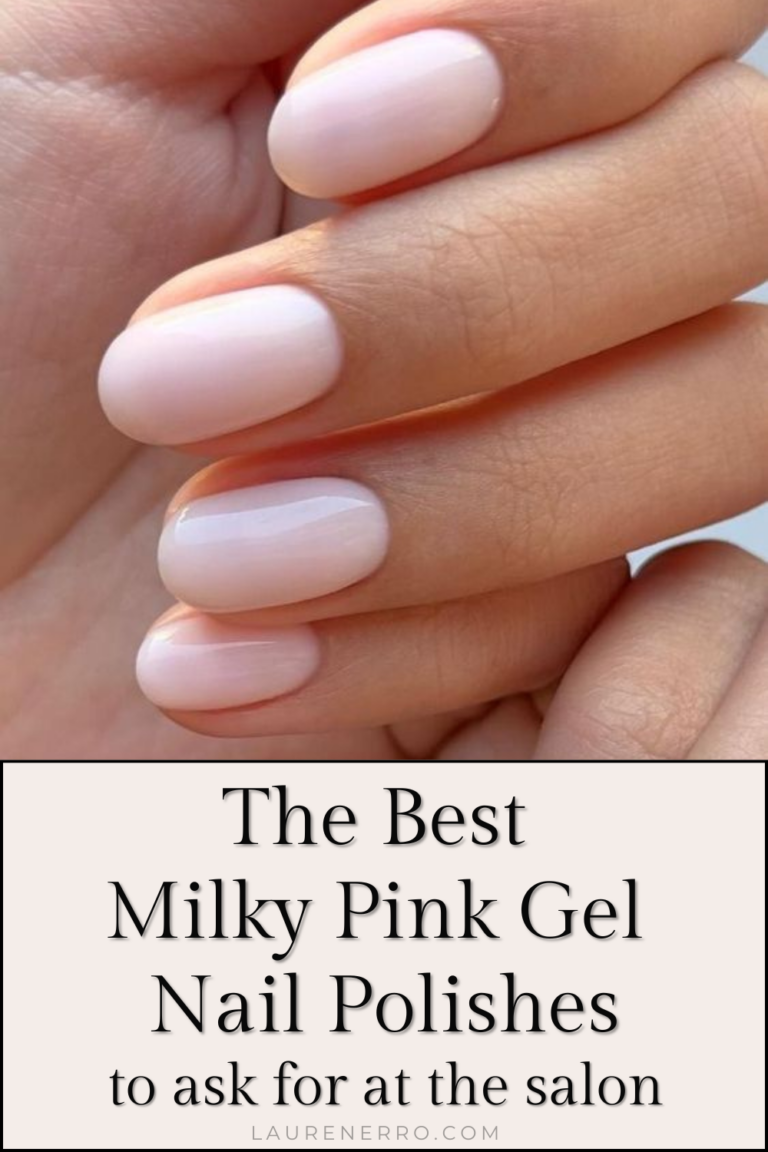
Hi! What color is the essie gel in the photograph? Is it Lace Me Up? Thanks!!