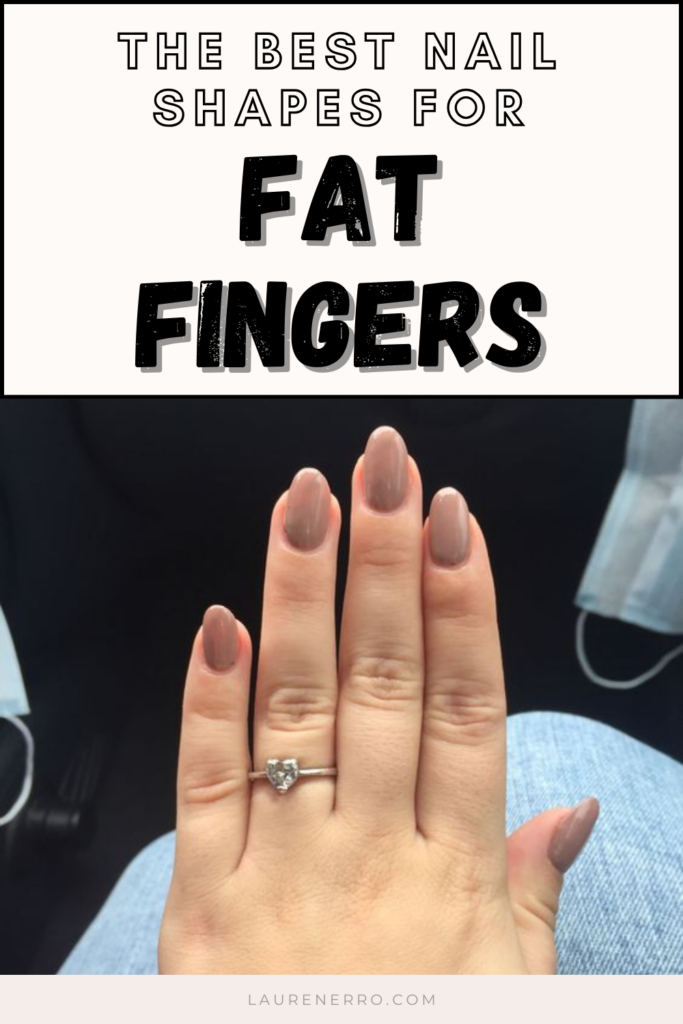
The 5 Best Nail Shapes For Fat Fingers
This post has the best nail shapes for fat fingers. Having fat fingers is perfectly normal and there is nothing wrong with it at all! Most of the pictures of hands or nails that we see online don’t correctly depict what is normal (and most pictures are photoshopped!). I was blessed with my dad’s hands and I have short wide fingers. As someone who takes a lot of hand photos, I have struggled with making them appear more feminine. Fortunately, I’ve found some ways for me to feel more feminine and to create the illusion of thinner fingers and nails.
This site contains affiliate links, view the disclosure for more information.
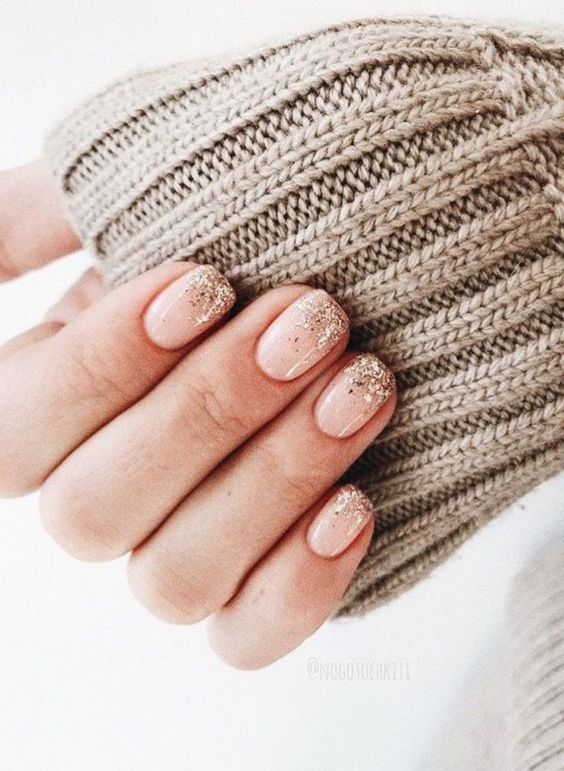
When it comes to the best nail shape for wider fingers, you want to go with something that will lengthen the appearance of your fingers. Longer nail lengths are an obvious choice because it creates an illusion that your fingers are longer than they are. Here are some of the best ideas to create the perfect nail shape for wide fingers.
The Best Nail Shapes For Fat Fingers
You’ll want to have the illusion of length to create the perfect shape for fat fingers. To get this you’ll want to elongate the length of your nails so that everything looks longer and leaner. Here are some great choices of different nail shapes for wide nail beds:
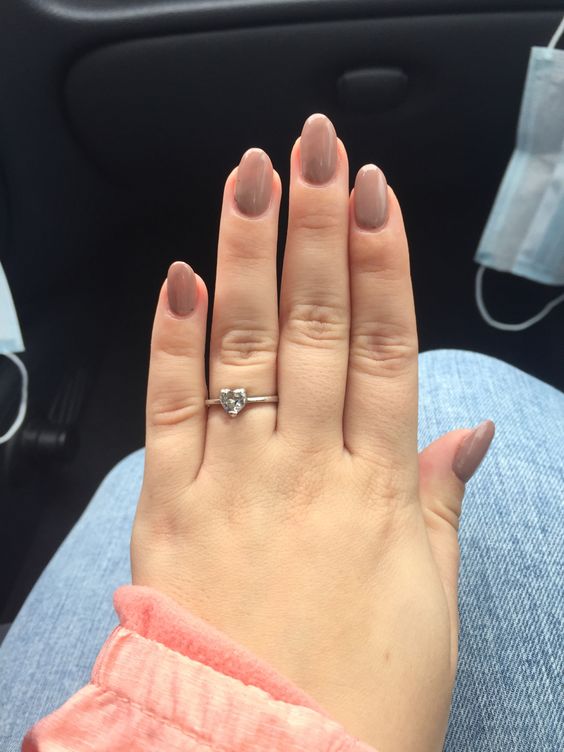
Almond Nails
An excellent choice for fat fingers is an almond nail shape. Almond manicures are a classic shape that creates a perfect length for larger fingers. This nail shape is a great choice because it isn’t too long but the rounded top makes your fingers look more slender. Almond-shaped nails have a round shape that resembles an almond and are a classic nail shape even for slender fingers. An almond shape looks great on natural nails or with any shade of nail polish making it the perfect choice.
Coffin Nails
Coffin-shaped nails are a great way to create the illusion of long fingers. A coffin shape has a thin edge with a squared-off tip. A coffin nail shape can be a great shape for slender hands as well, but it’s a perfect option for short chubby fingers because of the length and style.
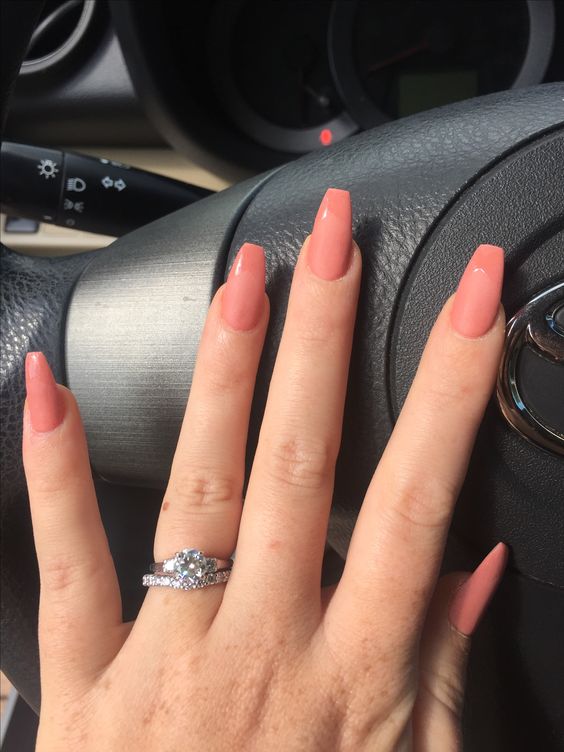
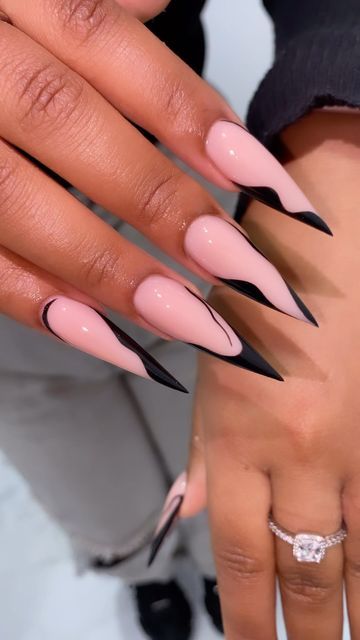
Stiletto Nails
A good choice for nail shapes for fat fingers is a stiletto nail. This manicure idea creates a long nail length with sharp edges. The stiletto shape is an ideal nail shape for larger hands and short fingers. It makes the width of your fingers look much slimmer. So, if you can do long nails and like the tips of your nails to have sharp corners, this could be a great choice for you.
Squoval Nails
Squoval-shaped nails are a great option if you like to have short nails. A squoval nail shape is a very natural shape despite the name. It is a more delicate oval-shaped nail that mimics the shape of your cuticle. A squoval shape is the right nail shape for you if you want more natural-looking nail shapes for fat fingers.
Square Nails
A square shape isn’t usually the best shape for fat fingers, but if you have longer fingers this one could look great. A square tip at the end of a long nail can make this nail shape work. Try to avoid this shape if you like to have shorter nails.
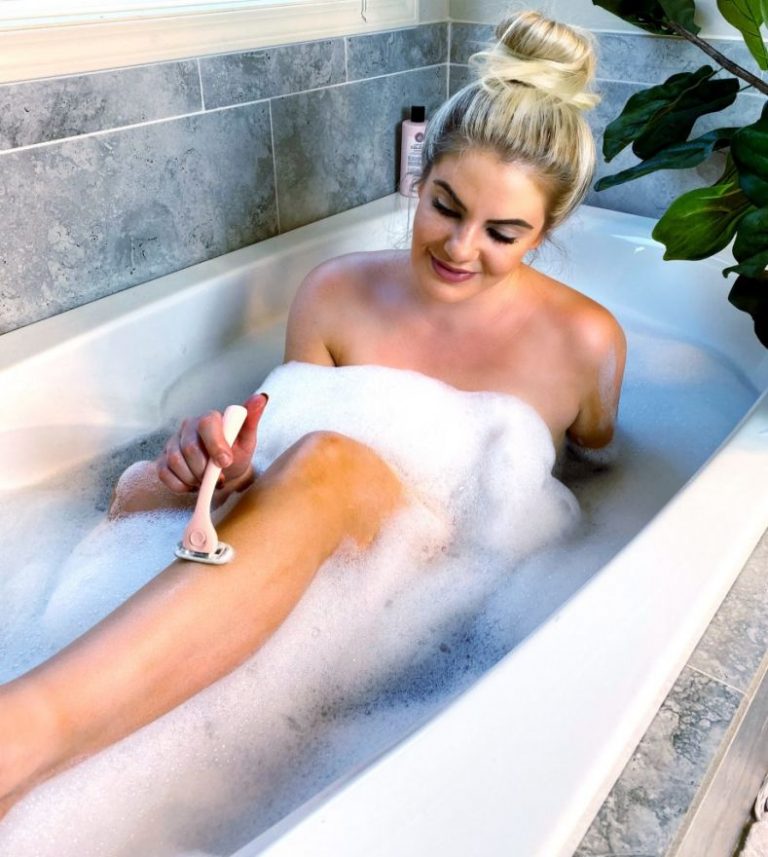
How To Get Salon Quality Nails at Home
If you’re like me, and a nail salon gives you anxiety, here are some of my top tips to get salon-quality nails at home. I like to do all of the prep and then apply glue on nails! I’ve worn glue on nails for years and prefer them to the salon- they’re more affordable, and you apply them anywhere!
Materials Needed:
- Nail polish remover
- Cotton pads or balls
- Nail clippers
- Nail file
- Cuticle pusher or orange stick
- Cuticle oil or moisturizer
- Base coat
- Nail polish (I love OPI polish)
- Top coat
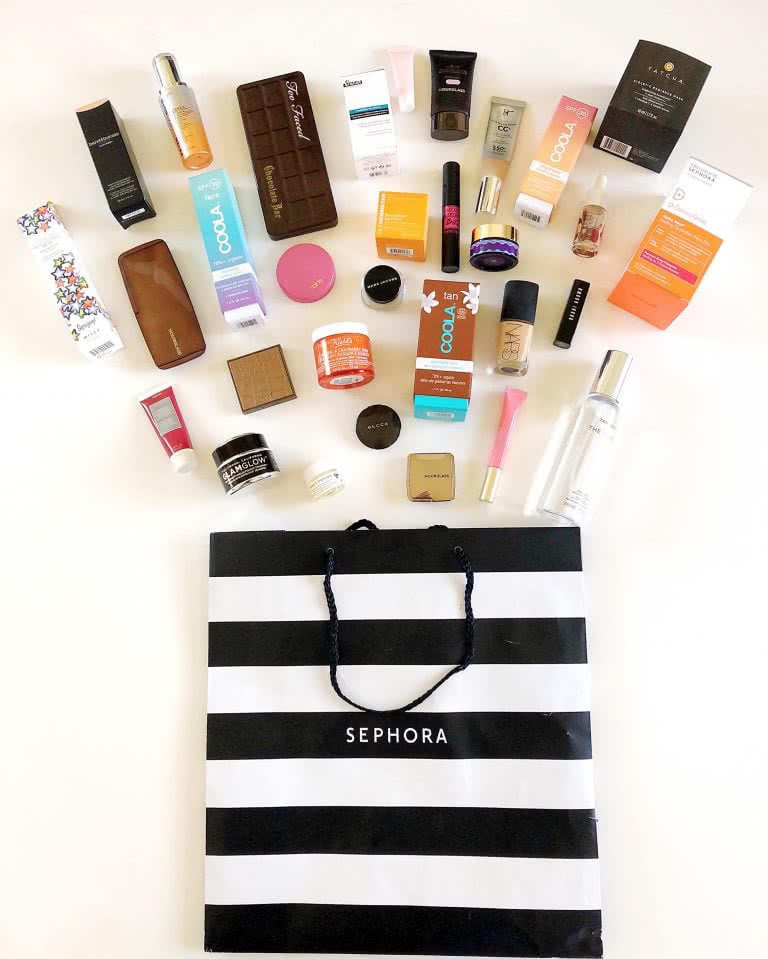
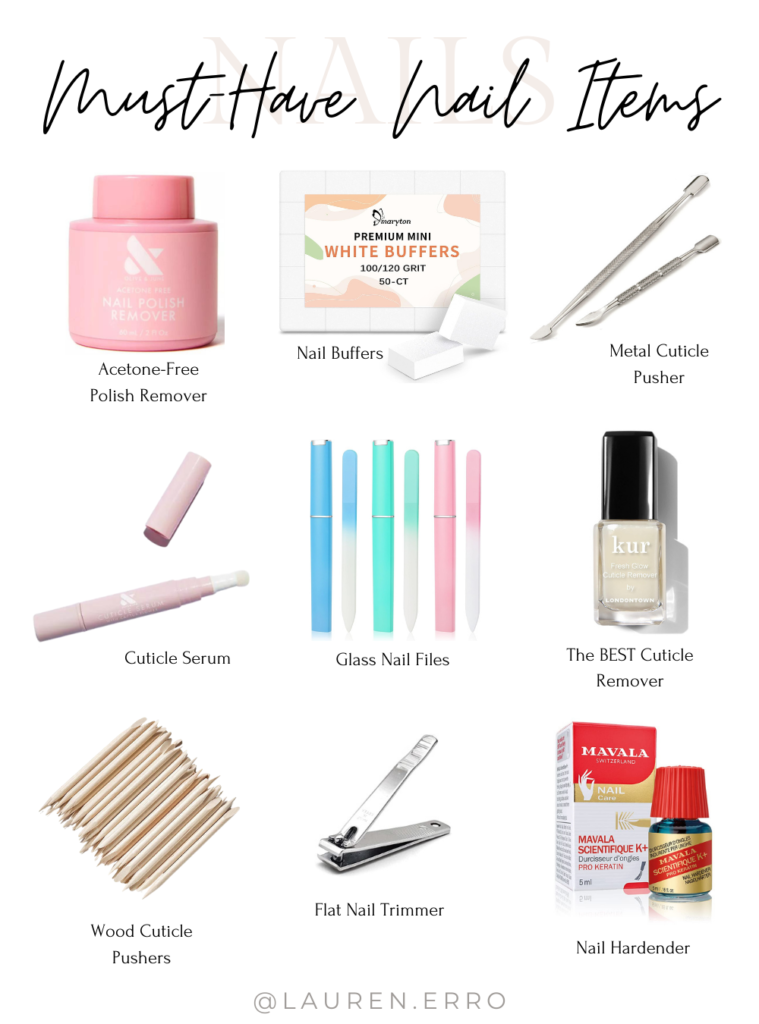
Here are my favorite nail care items, you can click the picture to be taken to the links.
Step 1: Remove Old Nail Polish Use a nail polish remover and a cotton pad, and gently remove any existing nail polish from your nails. Make sure to choose a nail polish remover that is acetone-free if your nails are prone to drying.
Step 2: Trim and Shape Nails Trim your nails to your desired length using nail clippers. Then, use a nail file to shape them. You can choose a square, round, oval, or almond shape based on your preference.
Step 3: Soak Your Nails Fill a small bowl with warm water and a few drops of mild soap. Soak your fingertips for a few minutes to soften the cuticles.
Step 4: Push Back Cuticles After soaking, use a cuticle pusher or an orange stick to push back your cuticles gently. Be careful not to cut them, as this can lead to infection.
Step 5: Moisturize Apply cuticle oil to your cuticles and the surrounding skin to keep them hydrated. Massage it in for a few minutes.
Step 6: Apply Base Coat Apply a thin layer of base coat to each nail. This protects your nails and helps the nail polish adhere better.
Step 7: Apply Nail Polish Once the base coat is dry, apply your chosen nail polish color. Start with a thin layer and allow it to dry completely before applying a second coat if needed.
Step 8: Apply Top Coat After your nail polish has dried, apply a clear top coat to add shine and protect the color. This also helps your manicure last longer.
Step 9: Let Your Nails Dry Allow your nails to dry completely before doing anything that might smudge the polish.
Regularly moisturizing your hands and cuticles will help maintain your nails’ health and keep your manicure looking fresh.

This Post Has The Best Nail Shapes For Fat Fingers
If you liked this post, check out some of my other nail posts!
Everything you need to know about Static Glue on nails
Review of Olive & June’s New Press on Nails- The Instant Mani
Gorgeous Winter Nail Ideas You’ll Want for 2024
Adorable Short Spring Nail Ideas
21 Awesome Valentine Nail Ideas
Beautiful Timeless Wedding Nail Ideas For Brides
The Best Short Holiday Nail Ideas
xx,
Lauren